
Air Box Removal DIY Guide
DISCLAIMER
As always, follow all safety protocols. Don't undertake this task if you aren't comfortable with it, fully understand it, and are capable of completing it. The information provided may be incomplete or inaccurate. You are ultimately responsible for anything you do. Neither Redpants, LLC or myself is responsible or liable for anything that may occur.
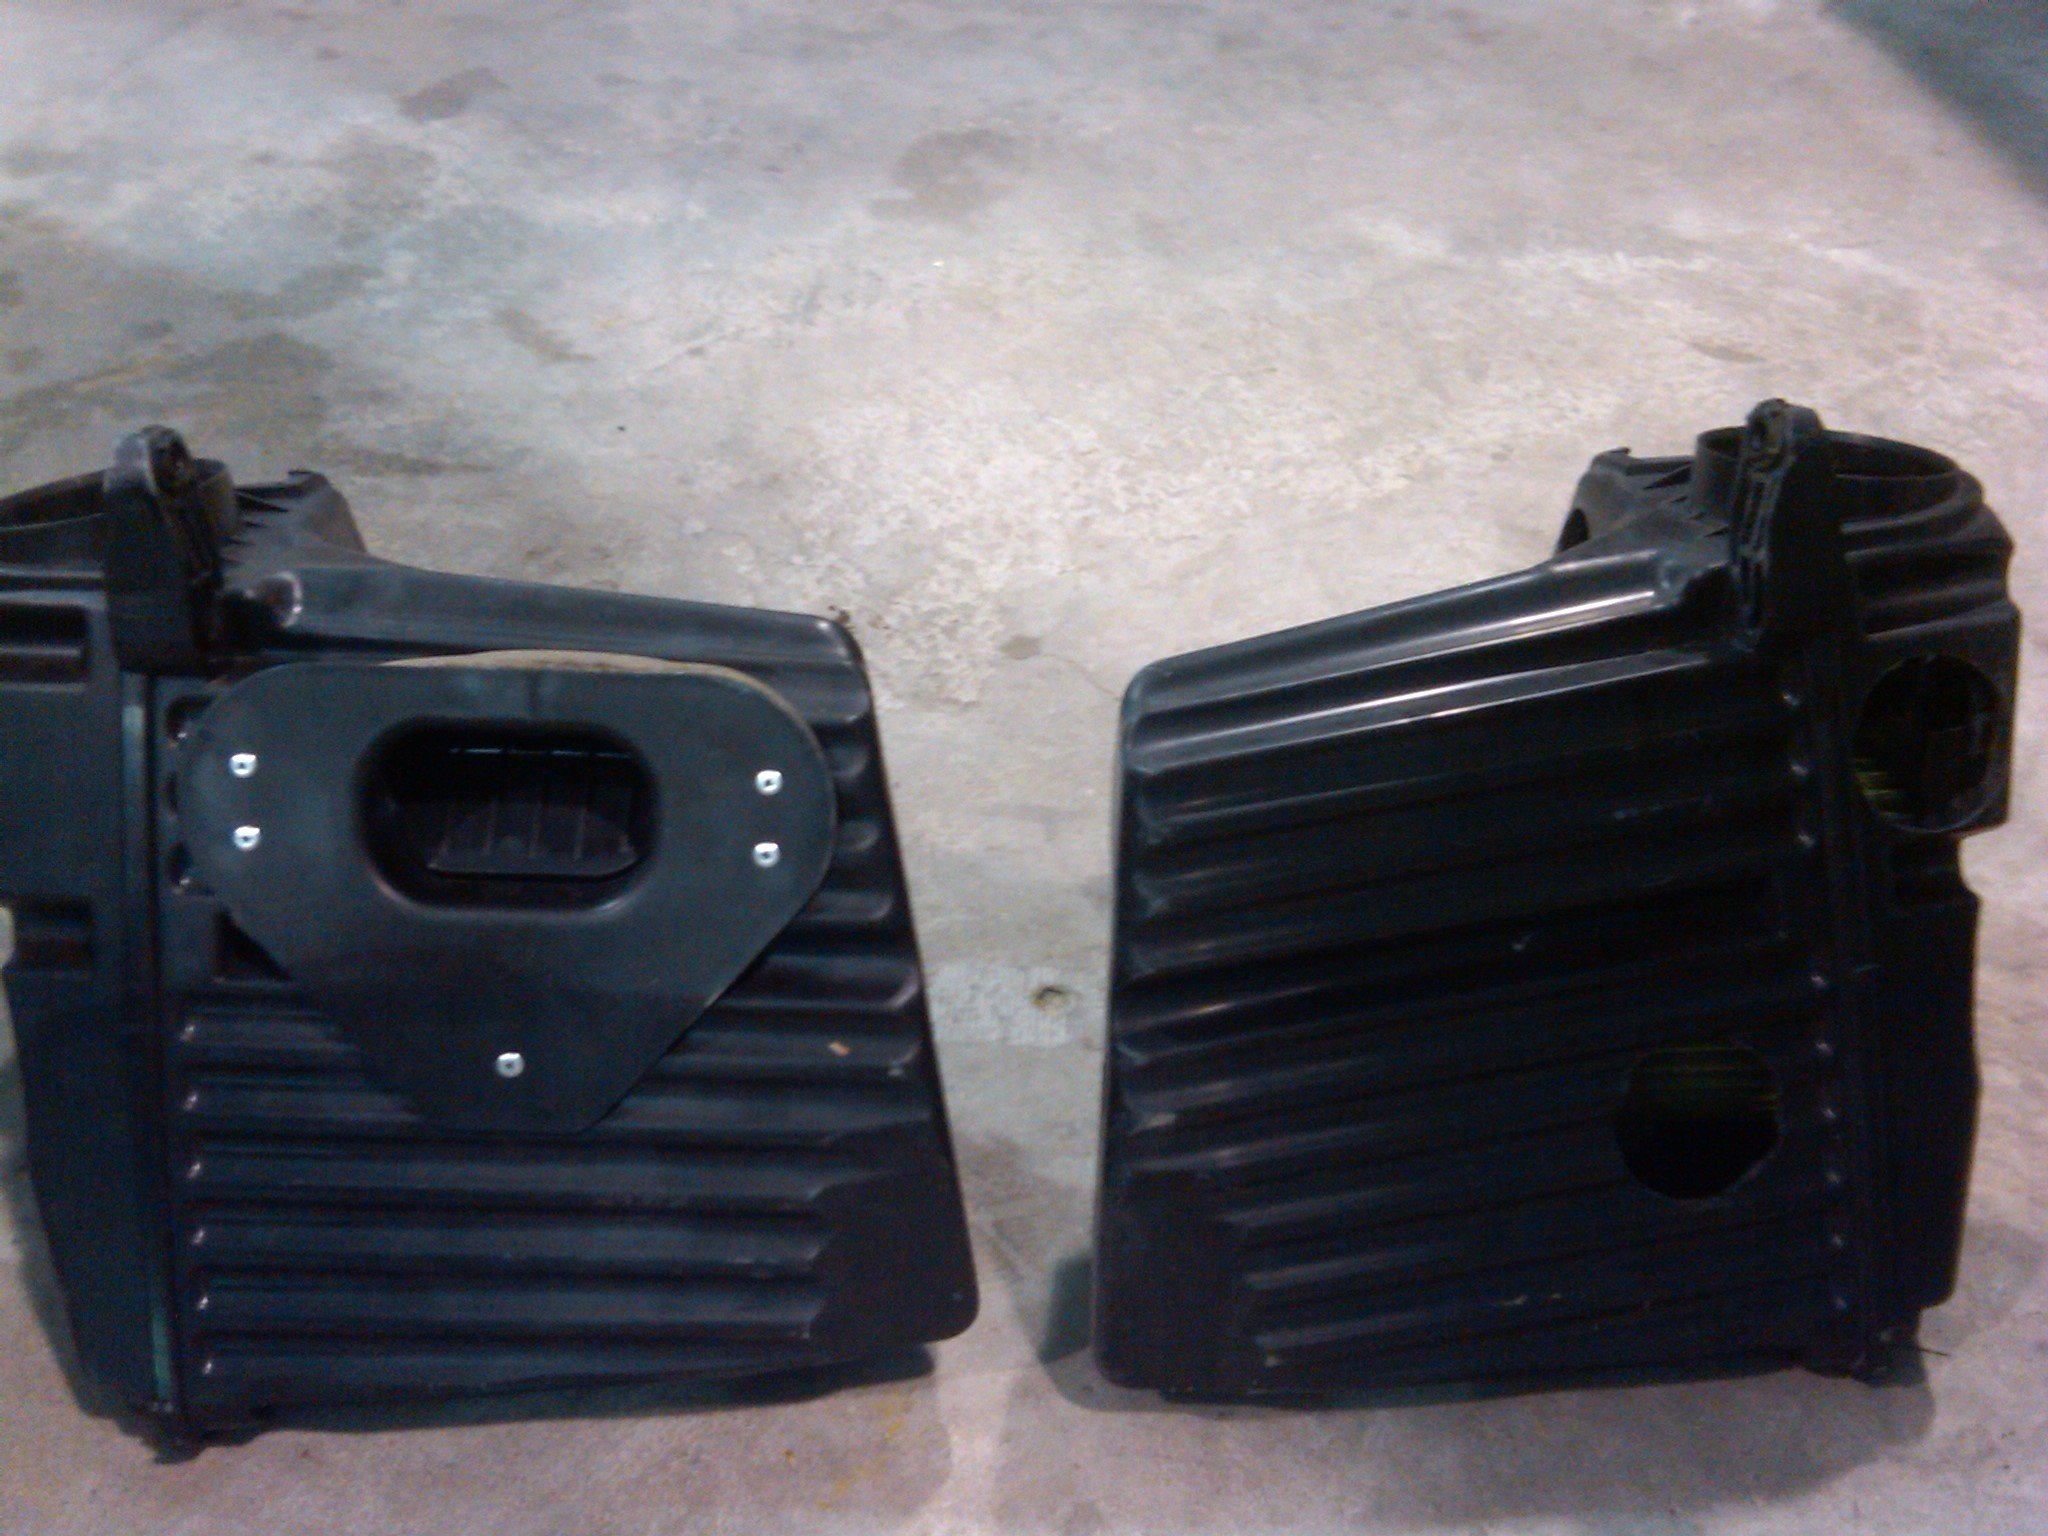
The engine intake air boxes on an Aston Martin are at the front of the car, directly below the headlights. They're put there for a number of reasons, and convenience isn't one of them. Removing the air boxes isn't terribly difficult, and the process is similar for the Vantage (which is seen in this DIY Guide) and other models of the same generation like the DB9, DBS, and Rapide.
The process for installing a set of Redpants Air Box Deletes starts at Step 7 but you’ll need to follow this entire DIY Guide for removal of the air boxes.
Needed
Jack and jack stands (or a lift)
Philips-head screwdriver
Flat-head screwdriver (optional)
T30 Torx bit
T40 Torx bit
8mm socket
Ratchet and 6" extension for the above bits and sockets
About an hour or two
Before You Begin
You don’t need to remove the air box cover or remove the intake filter to remove the air box. However, you do need to do so if you’re installing a set of Redpants Air Box Deletes. To simplify this DIY Guide, I’ve included the intake filter removal as Step 7, but the filters can be removed at any time.
Step 1
Break the lug nuts loose on the front wheels. You don’t need to remove them entirely, just one spin will do.
Get the car off the ground, either with a lift or using a jack and jack stands. If you’re using a jack and jack stands, this job can be done with just the front off the ground but I personally always put all four corners on jack stands.
With the car off the ground, you can remove the front wheels.
Step 2
Remove the front undertray.
Remove the front fender liners. It’s possible to complete this job with only the front half of the fender liners pulled back and the rear halves still bolted in place, but removing them entirely can make things easier.
Step 3
Disconnect the MAF sensor. To do this, slide the red safety tab up, then you can press in the connector's tab to release it. The picture below shows what the red tab looks like.

If you have Power Pack air boxes, disconnect the solenoid and rubber vacuum hose (circled in the picture below).
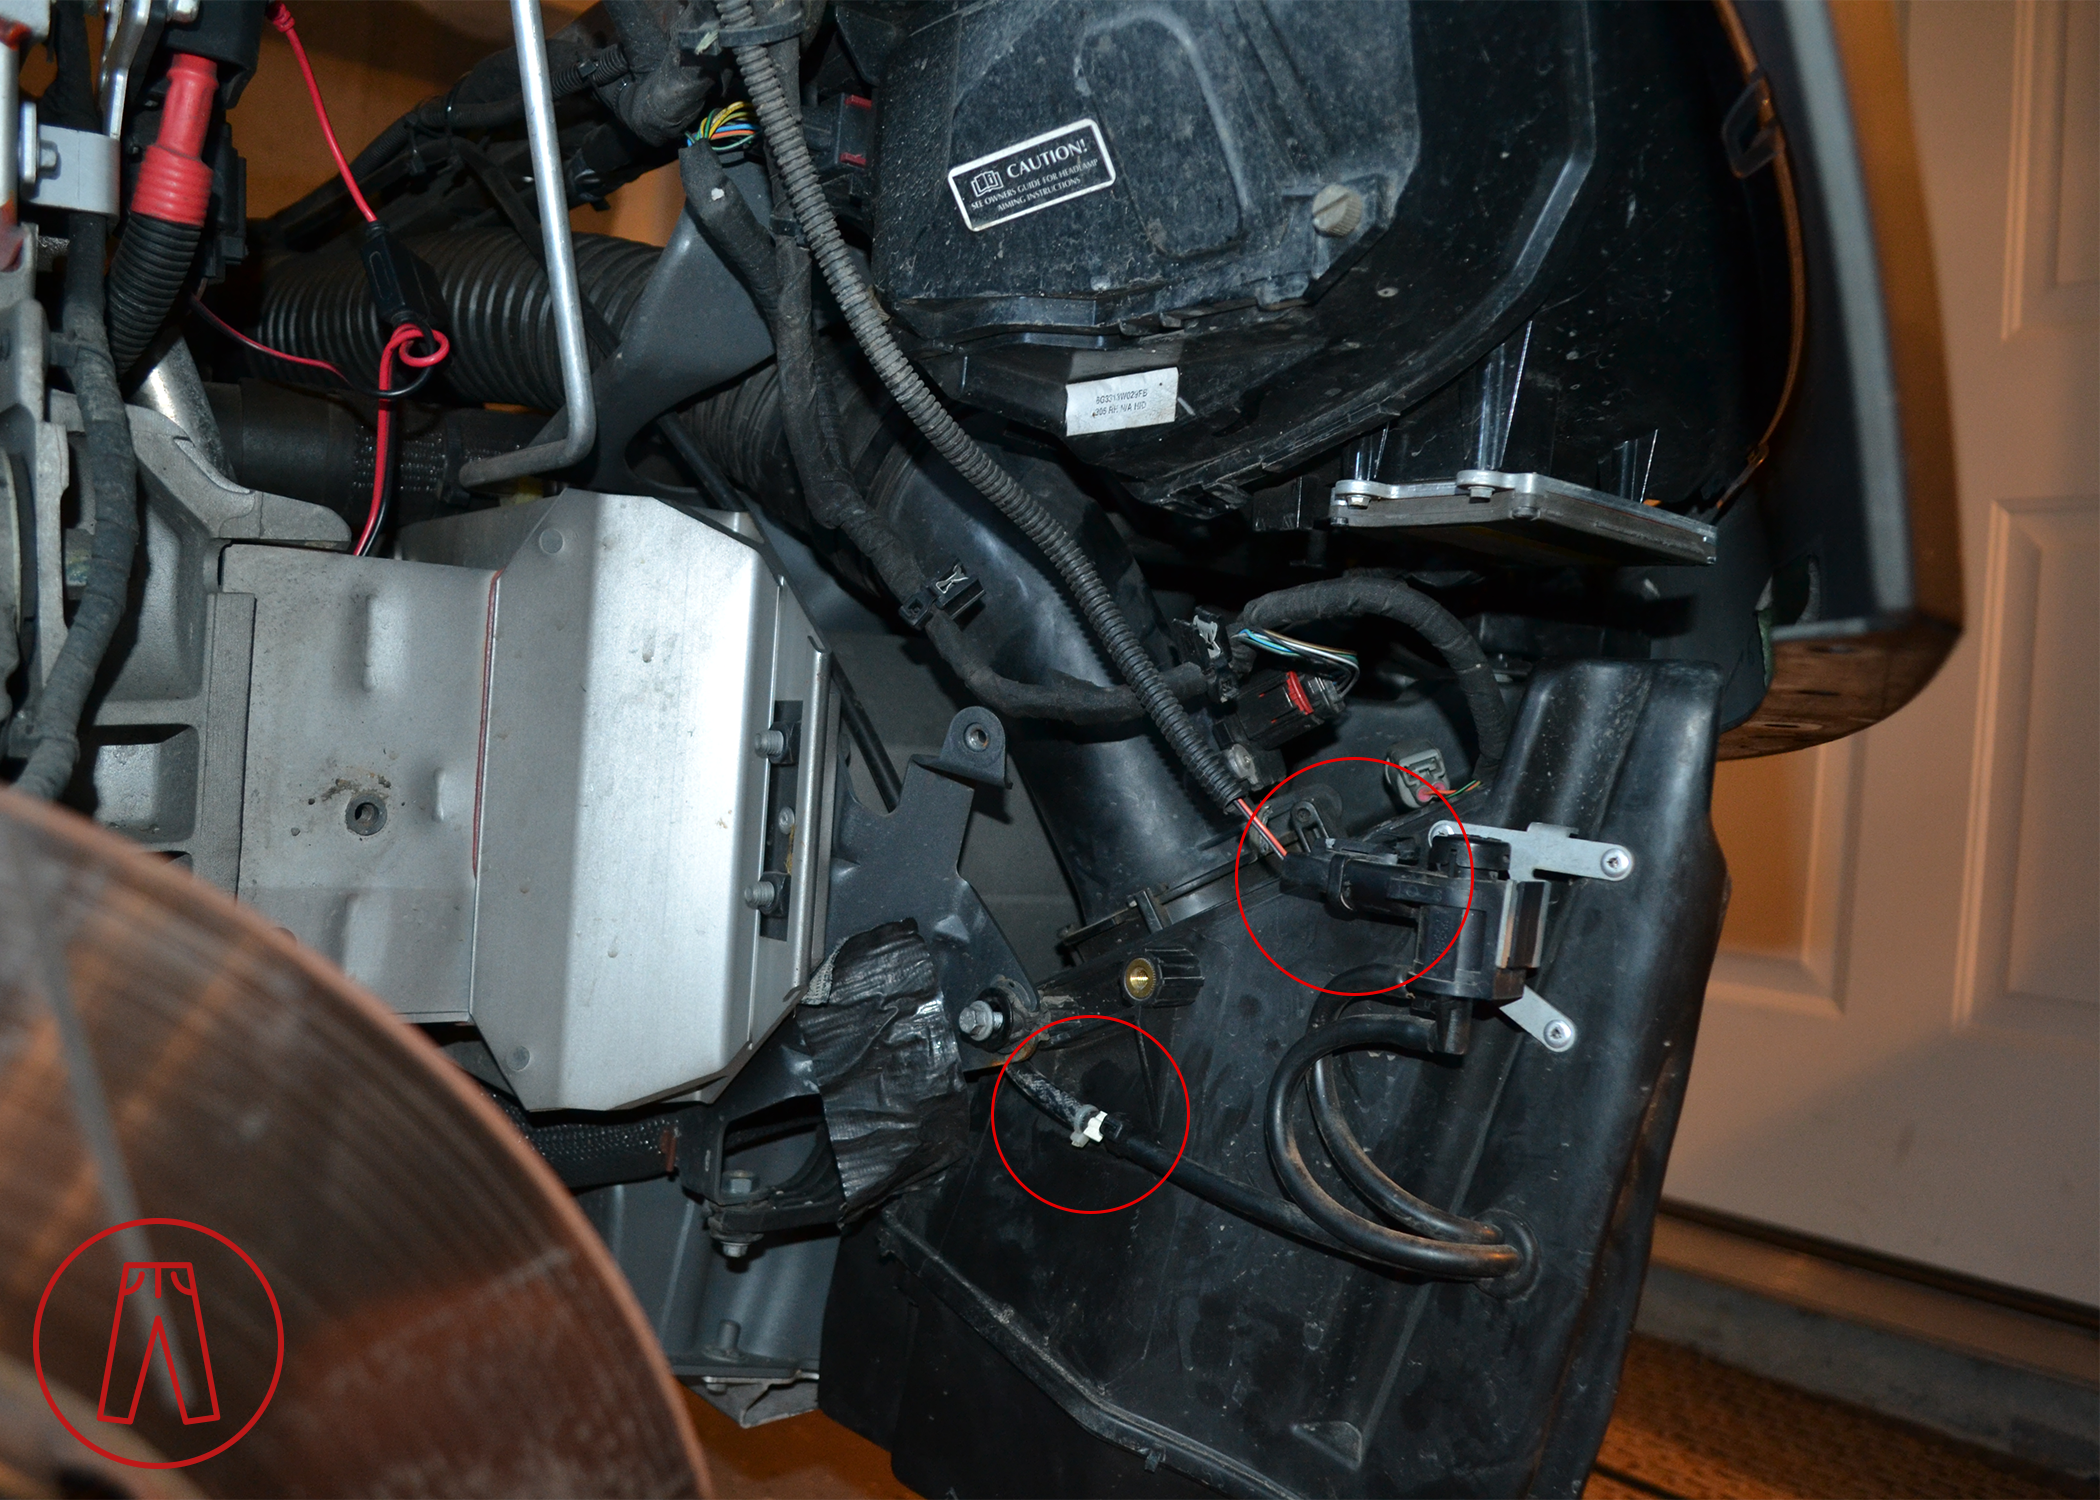
Disconnect the front corner markers if you have them (found on some cars like in the US, but on other cars like in the UK). The corner marker lens does not need to be removed. This gives you more space to move around and reduces the risk of damage to it.
Step 4
Use the 8mm socket, 6" extension (as needed), and ratchet to remove the three 8mm bolts holding the air box in place. The three bolts are circled in the two pictures below.


You can now move the air box around a bit, just be careful not to damage anything in the surrounding area.
Step 5
Use a pair of flat-head screwdrivers to release the alligator clamp securing the top of the MAF tube to the corrugated air ducting, then carefully separate the MAF tube from the corrugated air duct.

The entire air box and MAF tube assembly can now come out of the car.
Step 6
Remove the screw fastening the MAF tube to the top of the air box. Twist the MAF tube to release it, then it can be removed.
If you’re reinstalling an air box, follow Steps 6 through 1 in reverse order and then you’re done!
If you’re installing a set of Redpants Air Box Deletes, continue to Step 7.
Step 7
Remove the absurd number of bolts securing the air box lid in place, then remove the lid. Some of the bolts may be difficult to see, so refer to the picture below for the bolt locations.

Remove the intake filter by twisting it while pulling down.
Step 8
Remove the screws fastening the air filter adapter to the top of the air box, then remove the adapter from the air box.
Use the same screws to fasten the Air Box Delete bracket to the the MAF tube, then reinstall the MAF tube into the corrugated air duct (reversing Step 5). Use one of the three bolts from Step 4 to secure the Air Box Delete bracket to the chassis.
Install the air filter on the air filter adapter.
Step 9
Repeat for the air box on the other side, then reassemble everything following Steps 3 through 1.
And that’s it, you’re done!