
Intake Filter Replacement DIY Guide
DISCLAIMER
As always, follow all safety protocols. Don't undertake this task if you aren't comfortable with it, fully understand it, and are capable of completing it. The information provided may be incomplete or inaccurate. You are ultimately responsible for anything you do. Neither Redpants, LLC or myself is responsible or liable for anything that may occur.
Another job made complicated by packaging, changing the intake filters on an Aston Martin is a job performed from underneath the car. This maintenance job is recommended every 2-3 years (depending on climate). You'll need two intake filters, one for each of two intake airboxes, and they’re sold as a pair. This job is much easier if you remove the front wheels, but can be done with them still on the car. Removing them gives you more space to move the fender liners out of the way.
Needed
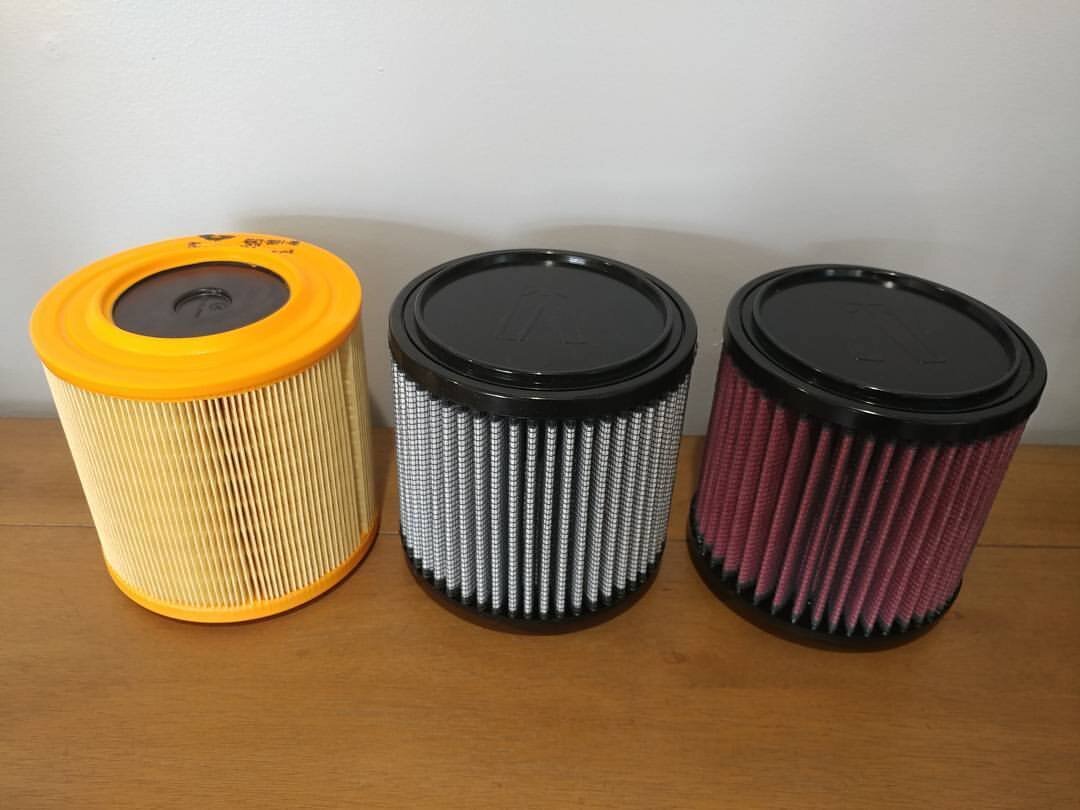
Engine air filters
Philips-head screwdriver
8mm socket
T30 Torx bit
T40 Torx bit
Extension for the 8mm socket
Ratchet for the socket and Torx bits
About an hour
Torque Figures
Air box cover bolts: 1.5-2.0 Nm. (1.5 lb/ft)
Step 1
If you’re taking the wheels off the car, first break the lug nuts loose.
Get the car off the ground, either with a lift or using a jack and jack stands. If you’re using a jack and jack stands, this job can be done with just the front off the ground but I personally always put all four corners on jack stands.
With the car off the ground, you can remove the front wheels if you want to have more room to work.
Step 2
Use the T30 and T40 Torx bits to remove all the fasteners on the front undertray. The bolts are the only thing holding up the undertray - once they're removed, the undertray will fall. So be ready for it!
Step 3
Use the T30 Torx bit and Philips-head screwdriver to remove the fasteners on the front half of the fender liners. Follow the fender liners to find them all. Once removed, pull the fender liner back out of the way.
Step 4
Use the 8mm socket, extension, and ratchet to remove the bolts holding the airbox cover onto the airbox. Here are the locations of all seven bolts:

Some are hidden out of sight so you'll need to shine a light around the edge of the cover (looking upwards from the bottom). Once they're all removed, you can pull the cover off the airbox. You'll see the filter inside.
Step 5
The air filter is held on by fitment pressure and friction - there isn't a clamp holding it in place. Pull the air filter down out of the airbox. It'll probably help to give it a little wiggle to break the rubber-on-plastic seal while pulling on it. If you have trouble with it, try working it at angles rather than pulling straight down on the filter.
Step 6
Install a new intake filter. Make sure it's seated properly and doesn't fall out. If it does fall it, it means the filter is too loose - there's a gap between the filter flange and the intake pipe. That gap will allow dirty, unfiltered air to get past the filter media, potentially damaging the mass airflow (MAF) sensor, engine, or other components.
Step 7
Reinstall the airbox cover while being very careful with the long, thin O-ring style gasket that seals the air box and air box cover. If this isn’t seated properly, it can get pinched between the air box and air box cover, damaging the gasket and potentially allowing an air leak.
Once the air box cover is reinstalled, you can button up the fender liner with its bolts and fasteners.
Step 8
Repeat Steps 2-7 on the other airbox. Once finished with both sides, reinstall the undertray. Remount the wheels if you removed them and hand-tighten the lug nuts. Lower the car, then finish tightening the lug nuts.
That's it, all done!