
V8 Vantage Spark Plug Replacement DIY Guide
DISCLAIMER
As always, follow all safety protocols. Don't undertake this task if you aren't comfortable with it, fully understand it, and are capable of completing it. The information provided may be incomplete or inaccurate. You are ultimately responsible for anything you do. Neither Redpants, LLC or myself is responsible or liable for anything that may occur.
Lucky for us, this is a pretty straight-forward job on the V8 Vantage. The OEM spark plugs have a service life of 70,000 miles, and it might also a good idea to replace your coil packs at the same time, as it isn't uncommon for them to fail at this point as well (I had an issue with mine at ~69,000 miles). The coil packs have to come out to get to the spark plugs, so there’s no extra work required to replace them at the same time.
Needed
Spark plugs
Coil packs (optional)
Torque wrench
5/8" Spark plug socket
3/8" wobble joint
3/8" extension (6")
3/8" ratchet
T20 Torx bit
1/4" extension (3")
1/4" ratchet
1-2 hours
Torque Ratings
Spark plugs: 18-20 Nm (13.5-15 lb/ft) per NGK
Spark plugs: 16-20 Nm (12-15 lb/ft) per Aston Martin
Coil packs: 5-7 Nm (4.5-5 lb/ft)
Before you begin
You can see a difference in torque ratings comparing NGK (the manufacturer of the spark plugs) and Aston Martin. It’s a non-issue, though, as NGK’s are within the range of Aston Martin’s, but are more specific.
The trick I use to reach all eight spark plugs without having to move anything out of the way is to connect a wobble joint between the spark plug socket and extension. If you don't have a lock on the wobble socket or extension, use a couple loops of electrical tape to keep them from disconnecting. It should look like this:

Step 1
Disconnect your battery.
Step 2
Remove the covers from on top of spark plugs. They pull right off. Be careful as you remove these as they're plastic and the pegs underneath can break easily.
Step 3
Disconnect the coil packs.
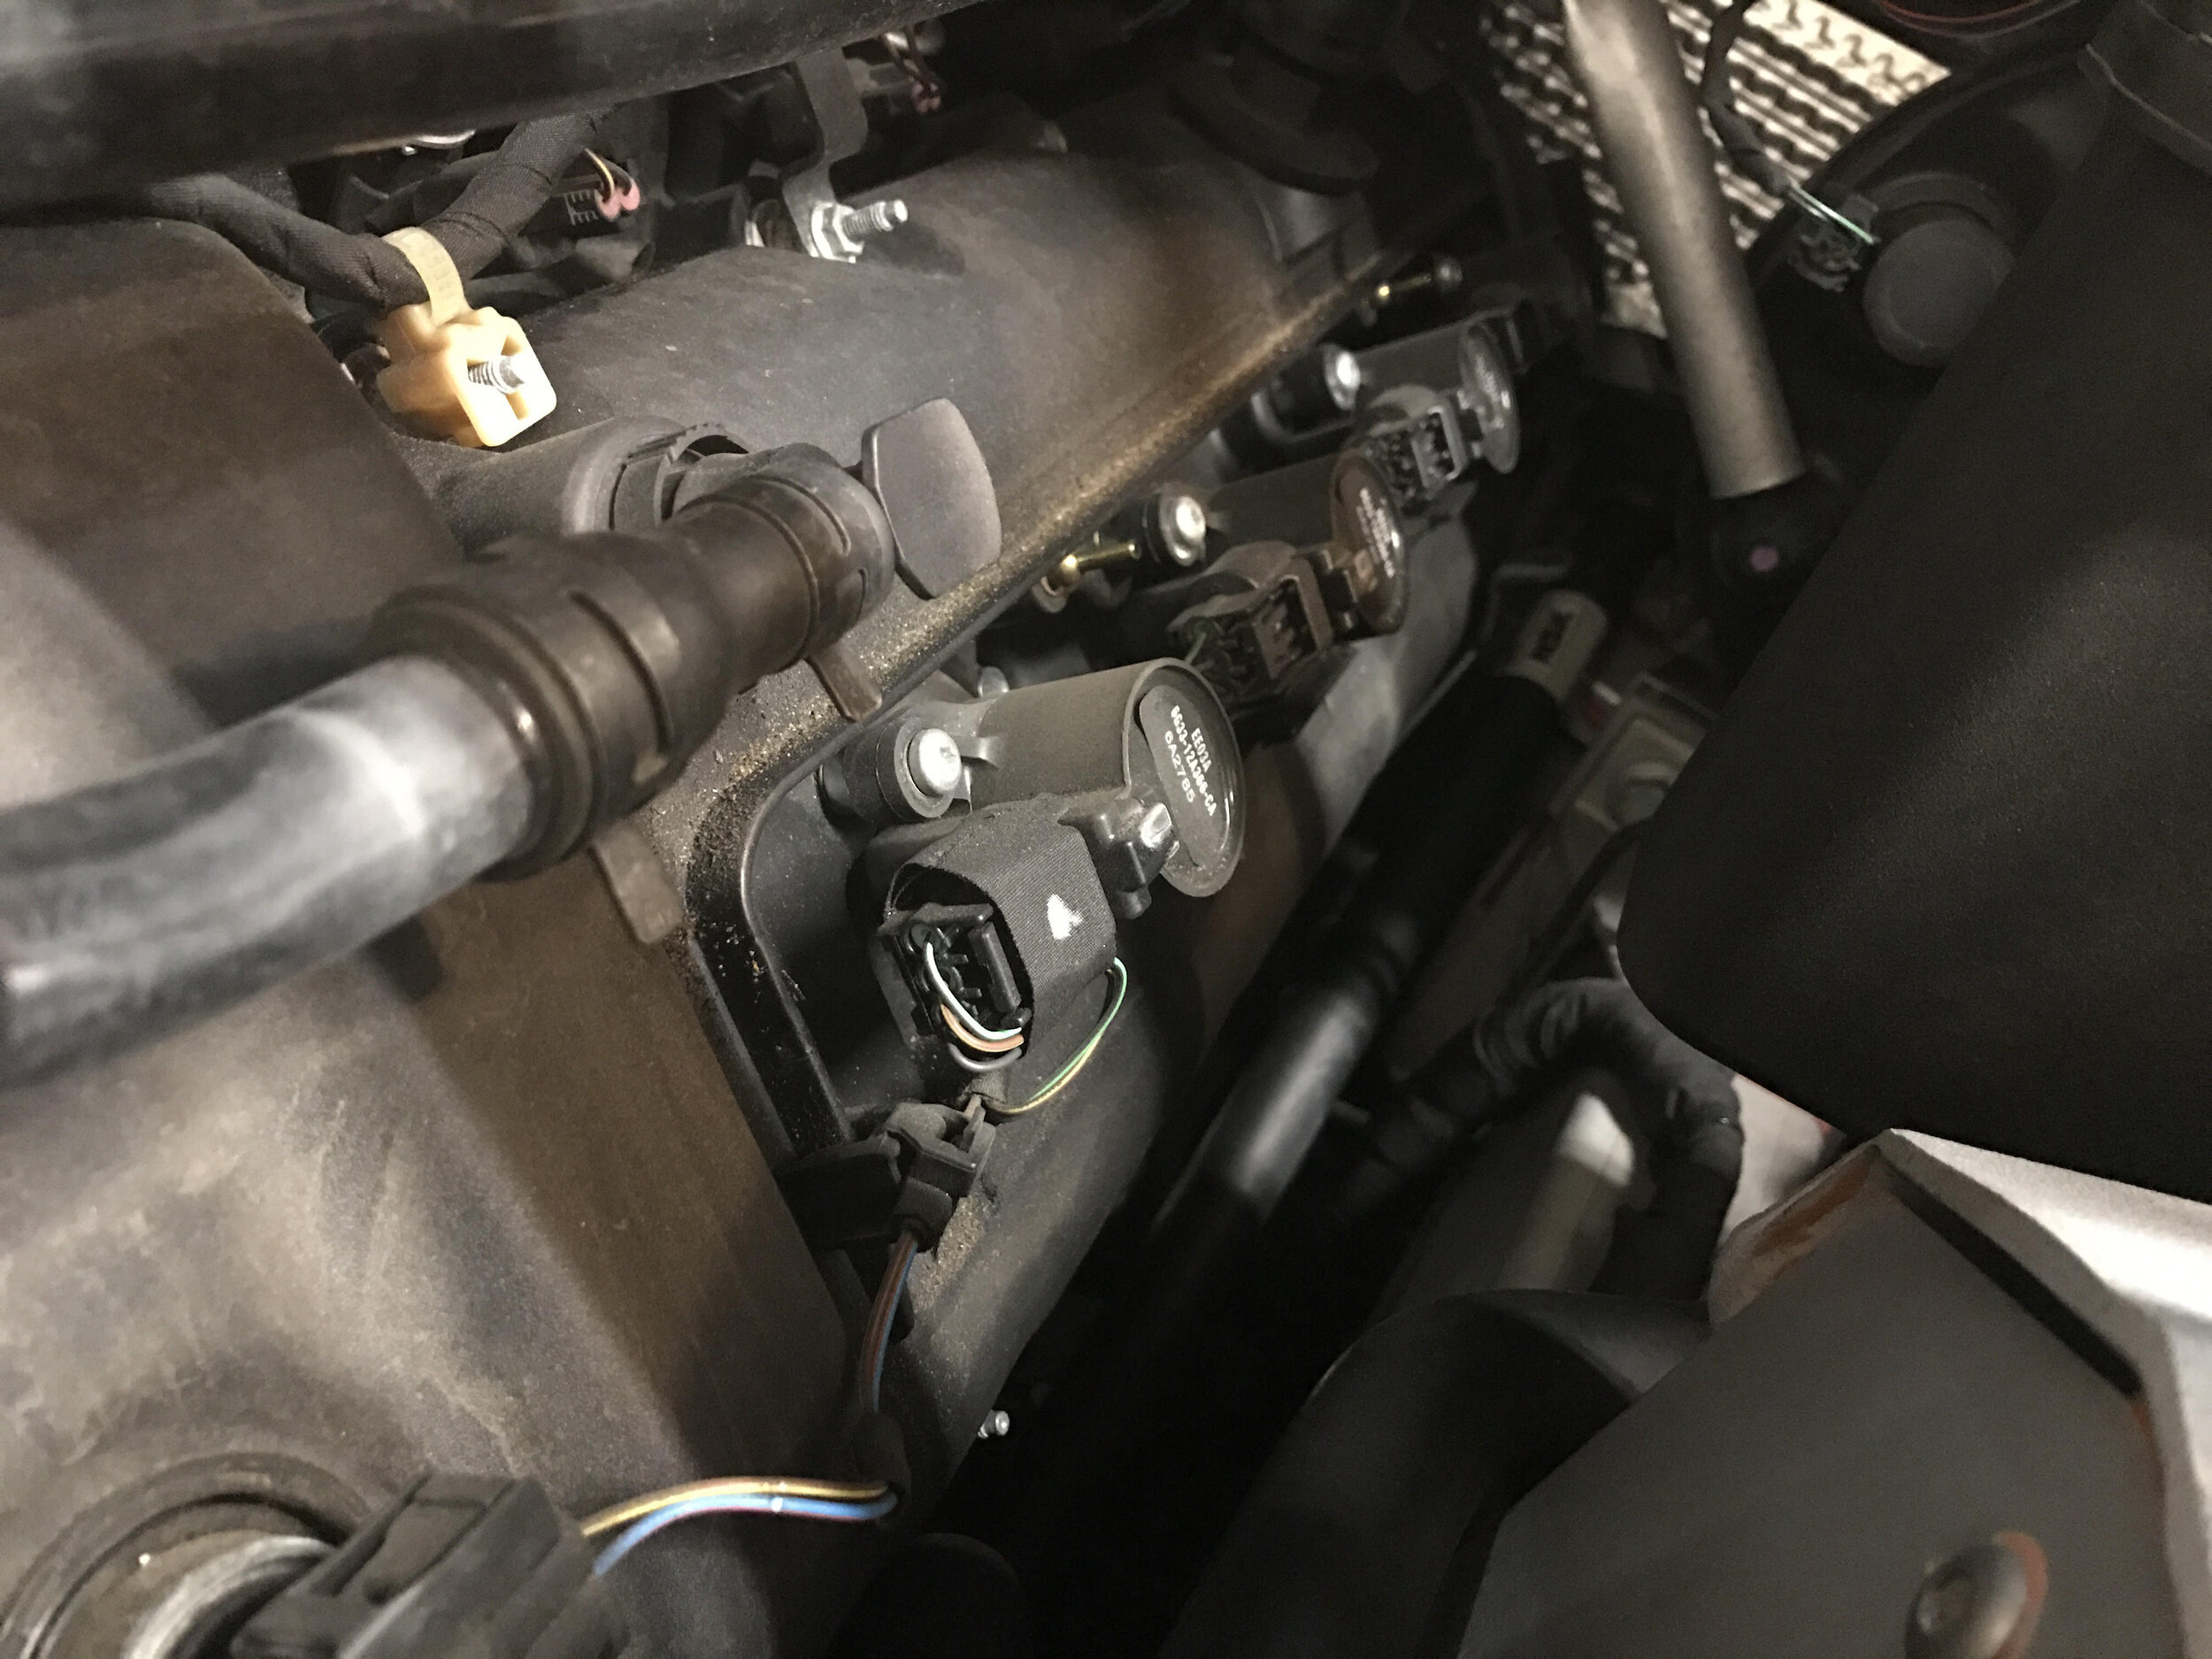
Step 4
Use the T20 Torx bit to loosen the bolt holding one of the front coil packs. Pull the coil pack out, making sure not to drop the small bolt spacer between the coil pack and the engine (circled in the picture below). Remove the next coil pack and continue until all four on that side are out. Repeat for the other side of the engine.

Step 5
Use the spark plug socket, wobble socket, extension, and ratchet to remove the first spark plug. Once removed, install the new spark plug. Repeat for the rest of the spark plugs.
Note: NGK, the manufacturer of Aston Martin’s spark plugs, advises that anti-seize should not be used on spark plugs.
Step 6
Install the coil pack on in one of the rear-most positions, making sure the bolt spacer is still in place on the bolt. once done, install the next-closest coil pack and repeat until you reach the front of the engine. Repeat the process on the other side, then reconnect all eight coil packs.
Once all eight coil packs are plugged in, you can put the spark plug covers back in place, reconnect your battery, and fire up the engine.
And that’s it!