
Radiator Fans Replacement DIY Guide
DISCLAIMER
As always, follow all safety protocols. Don't undertake this task if you aren't comfortable with it, fully understand it, and are capable of completing it. The information provided may be incomplete or inaccurate. You are ultimately responsible for anything you do. Neither Redpants, LLC or myself is responsible or liable for anything that may occur.
I found myself having to do this job after my tire wall incident. Part of the assembly had broken in the impact and I needed a whole new radiator fan assembly. Luckily, this is a super easy job! An added bonus: the fan assembly used on the V8 Vantage was directly pulled from Jaguar, so it can be replaced at a lower cost when subtracting the badge tax (same as is the case with the thermostat).
Needed
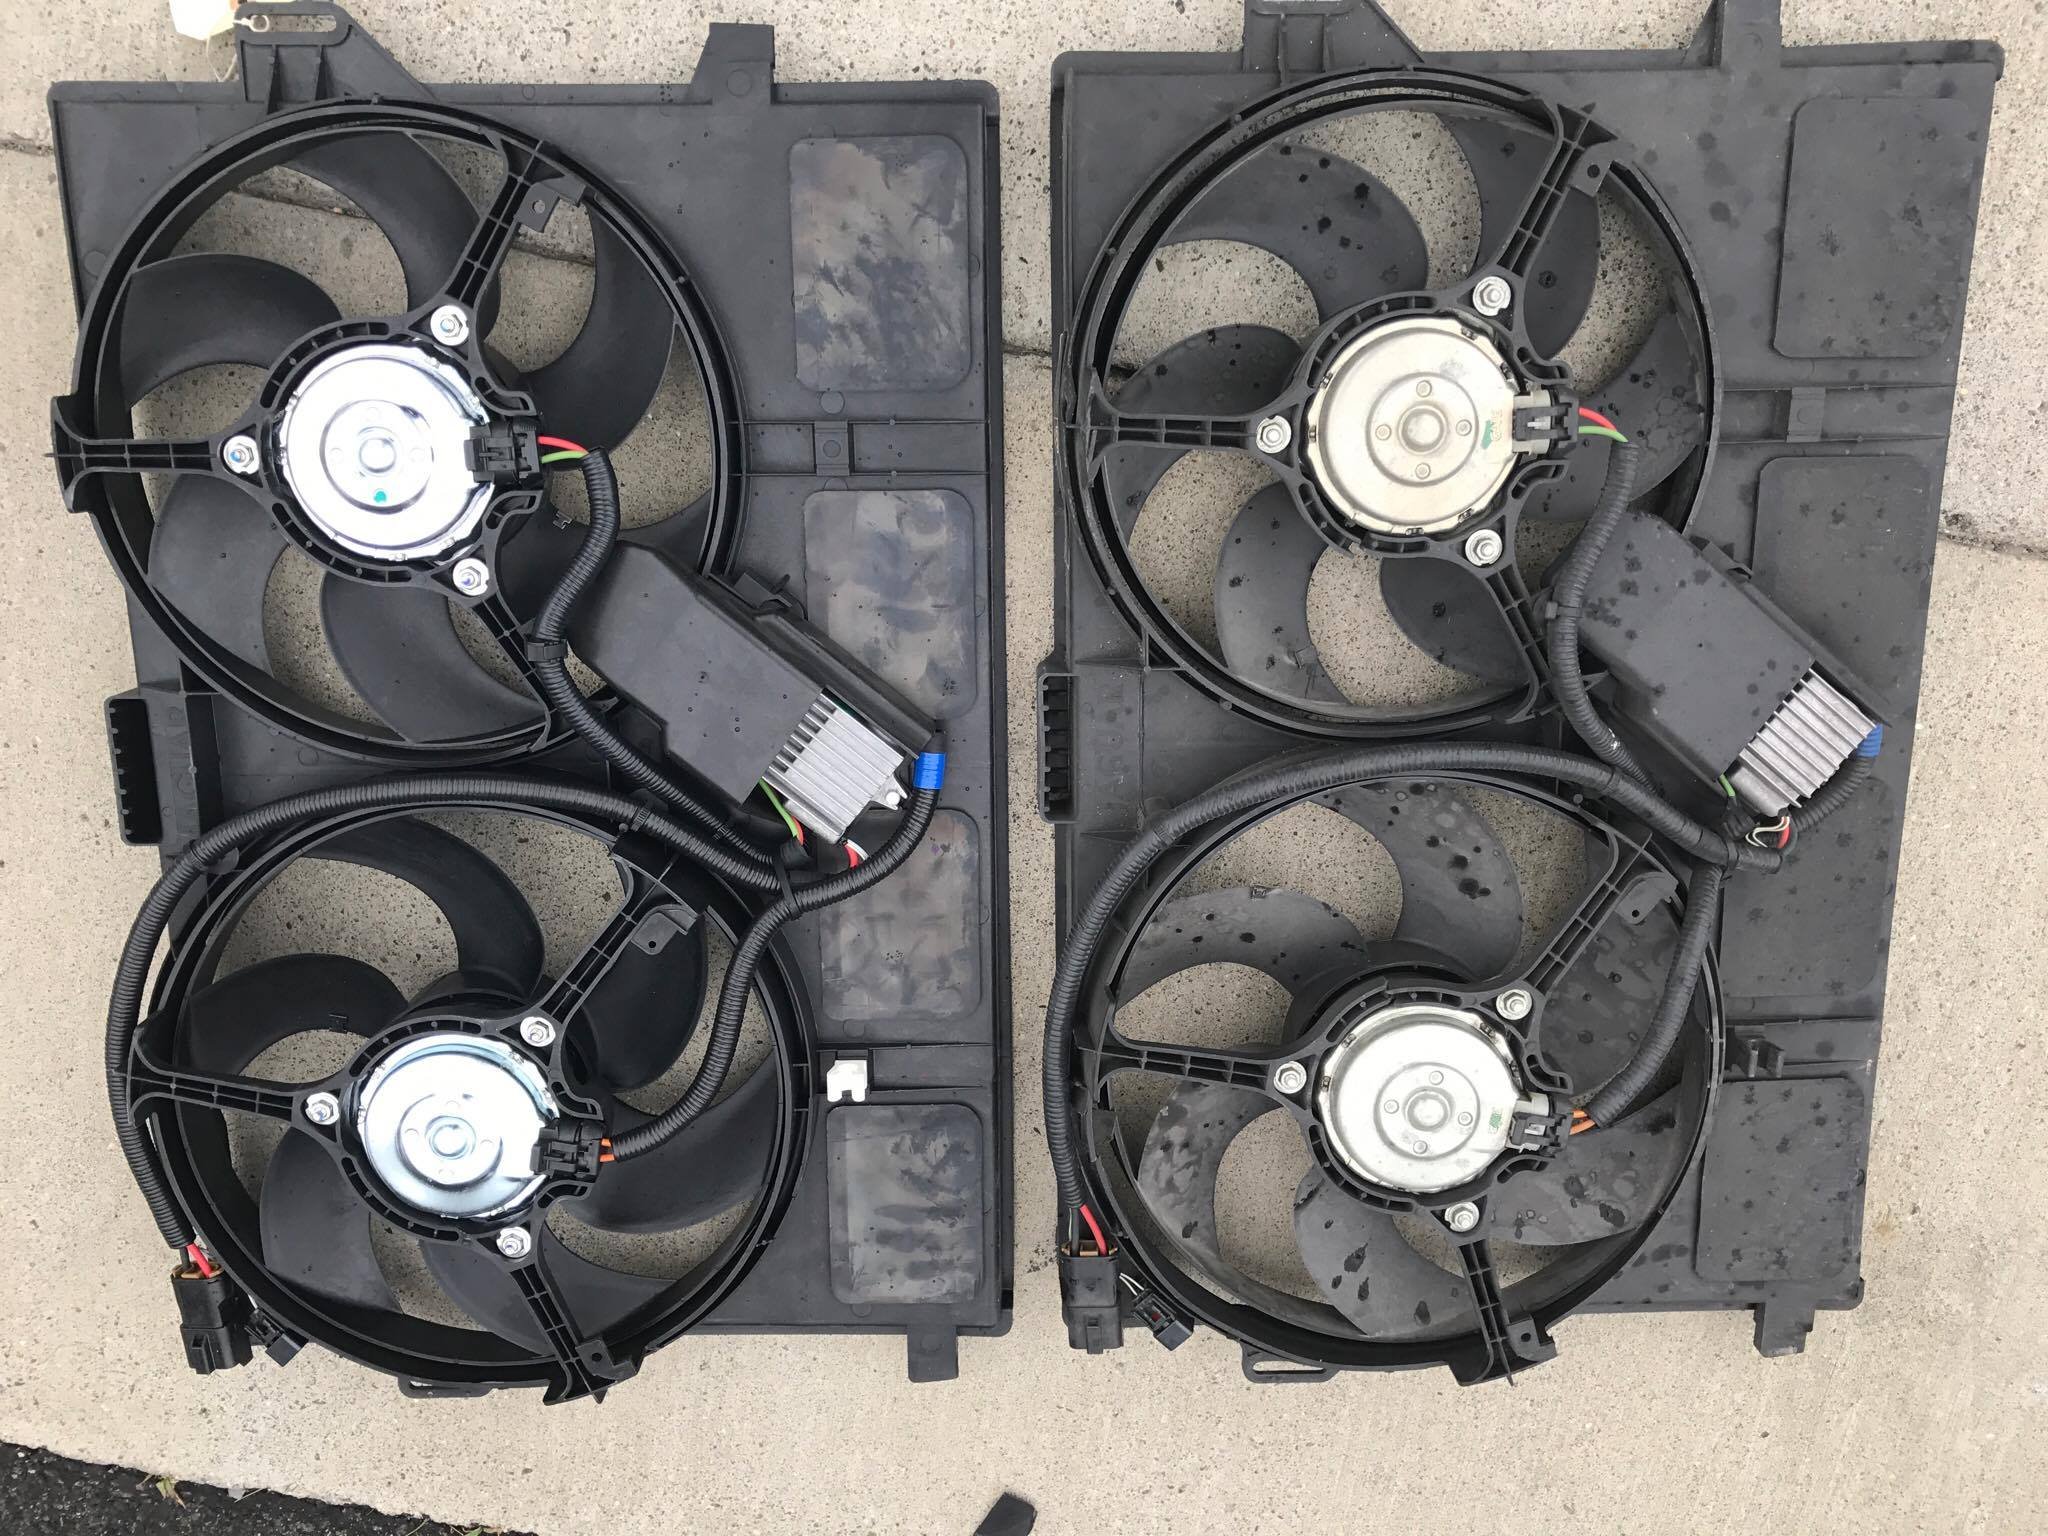
Radiator fan assembly (contact me if needed!)
T30 Torx bit
10mm socket
Ratchet
About 10 minutes
Step 1
Use the T30 Torx bit and ratchet to remove the bolts from the slam panel, then remove the slam panel from the car and set it aside.
Step 2
Unplug the two connectors on the top of the radiator. They’re located together and both can be seen in the picture below.

Step 3
Use the 10mm socket and ratchet to remove the nut on each side of the fan assembly, then remove the washers.


Step 4
Lean top edge of the fan assembly toward the rear of the car to clear the bolts where you just removed the two nuts, then lift the fan assembly up and out of the car.
Warning: Be careful of the upper radiator hose while lifting the fan assembly.
Step 5
Drop the new radiator fan assembly down into the car. Make sure the bottom edge fits into the two slots at the bottom, and the slotted holes on the sides go over the bolts.
Step 6
Put the washers and nuts back on the bolts, then use the 10mm socket and ratchet to tighten the nuts.
Reconnect the two wiring plugs.
Step 7
Turn on the car to test the fans and, once it checks out, reinstall the slam panel.
And that’s it!