
Replacing the Key Fob Battery (or the Fob Itself)
DISCLAIMER
As always, follow all safety protocols. Don't undertake this task if you aren't comfortable with it, fully understand it, and are capable of completing it. The information provided may be incomplete or inaccurate. You are ultimately responsible for anything you do. Neither Redpants, LLC or myself is responsible or liable for anything that may occur.
This DIY Guide shows how to replace the battery for the Volvo-based key fob used with early DB9 and V8 Vantage. The factory recommendation is to replace the battery every two years, but realistically they can last twice as long or more.
Yes, the fob is actually from Volvo and it does say “VOLVO” under the leather that covers the backside (that’s why the leather is there at all). The Volvo lettering is actually slightly embossed, so if your leather gets damaged by, say, jumping into an ocean with the fob in your pocket, the lettering can be seen through the leather.
If you want to switch out the Volvo fob for a much nicer one, check out the Spinstate fob I sell in my Online Store! The video below shows information about the Spinstate fob as well as how to swap over the internals of the OEM fob to the Spinstate one. It can also be used for just replacing the batter in the OEM fob.
Needed
Spinstate key fob (optional)
CR2032 battery
Philips-head screwdriver
2mm Allen key
About 10 minutes
Before You Begin
Be careful about pushing the battery contacts out of alignment when working with the fob internals. These are extremely thin and easy to move. If they do get misaligned, the battery will not have proper contact with the battery and it will not work until the contacts are realigned.
If you have trouble getting the fob internals or old battery out of the fob, you can gently pry them out with a tiny flat-head screwdriver. Be careful not to damage the fob, battery, or internals if you do that.
Programming is NOT needed if you’re replacing the battery or swapping over to the Spinstate key fob - the internals are not being changed and they’re what’s programmed to the car. If the fob does not work after replacing the battery or moving the internals to a new fob, it’s most likely the battery contacts and they just need to be adjusted.
Programming is needed if you have a new fob with new internals (specifically, the circuit board). If the circuit board inside the fob is new and has not yet been programmed to the car, then a dealership will need to do this before the fob will work.
Step 1
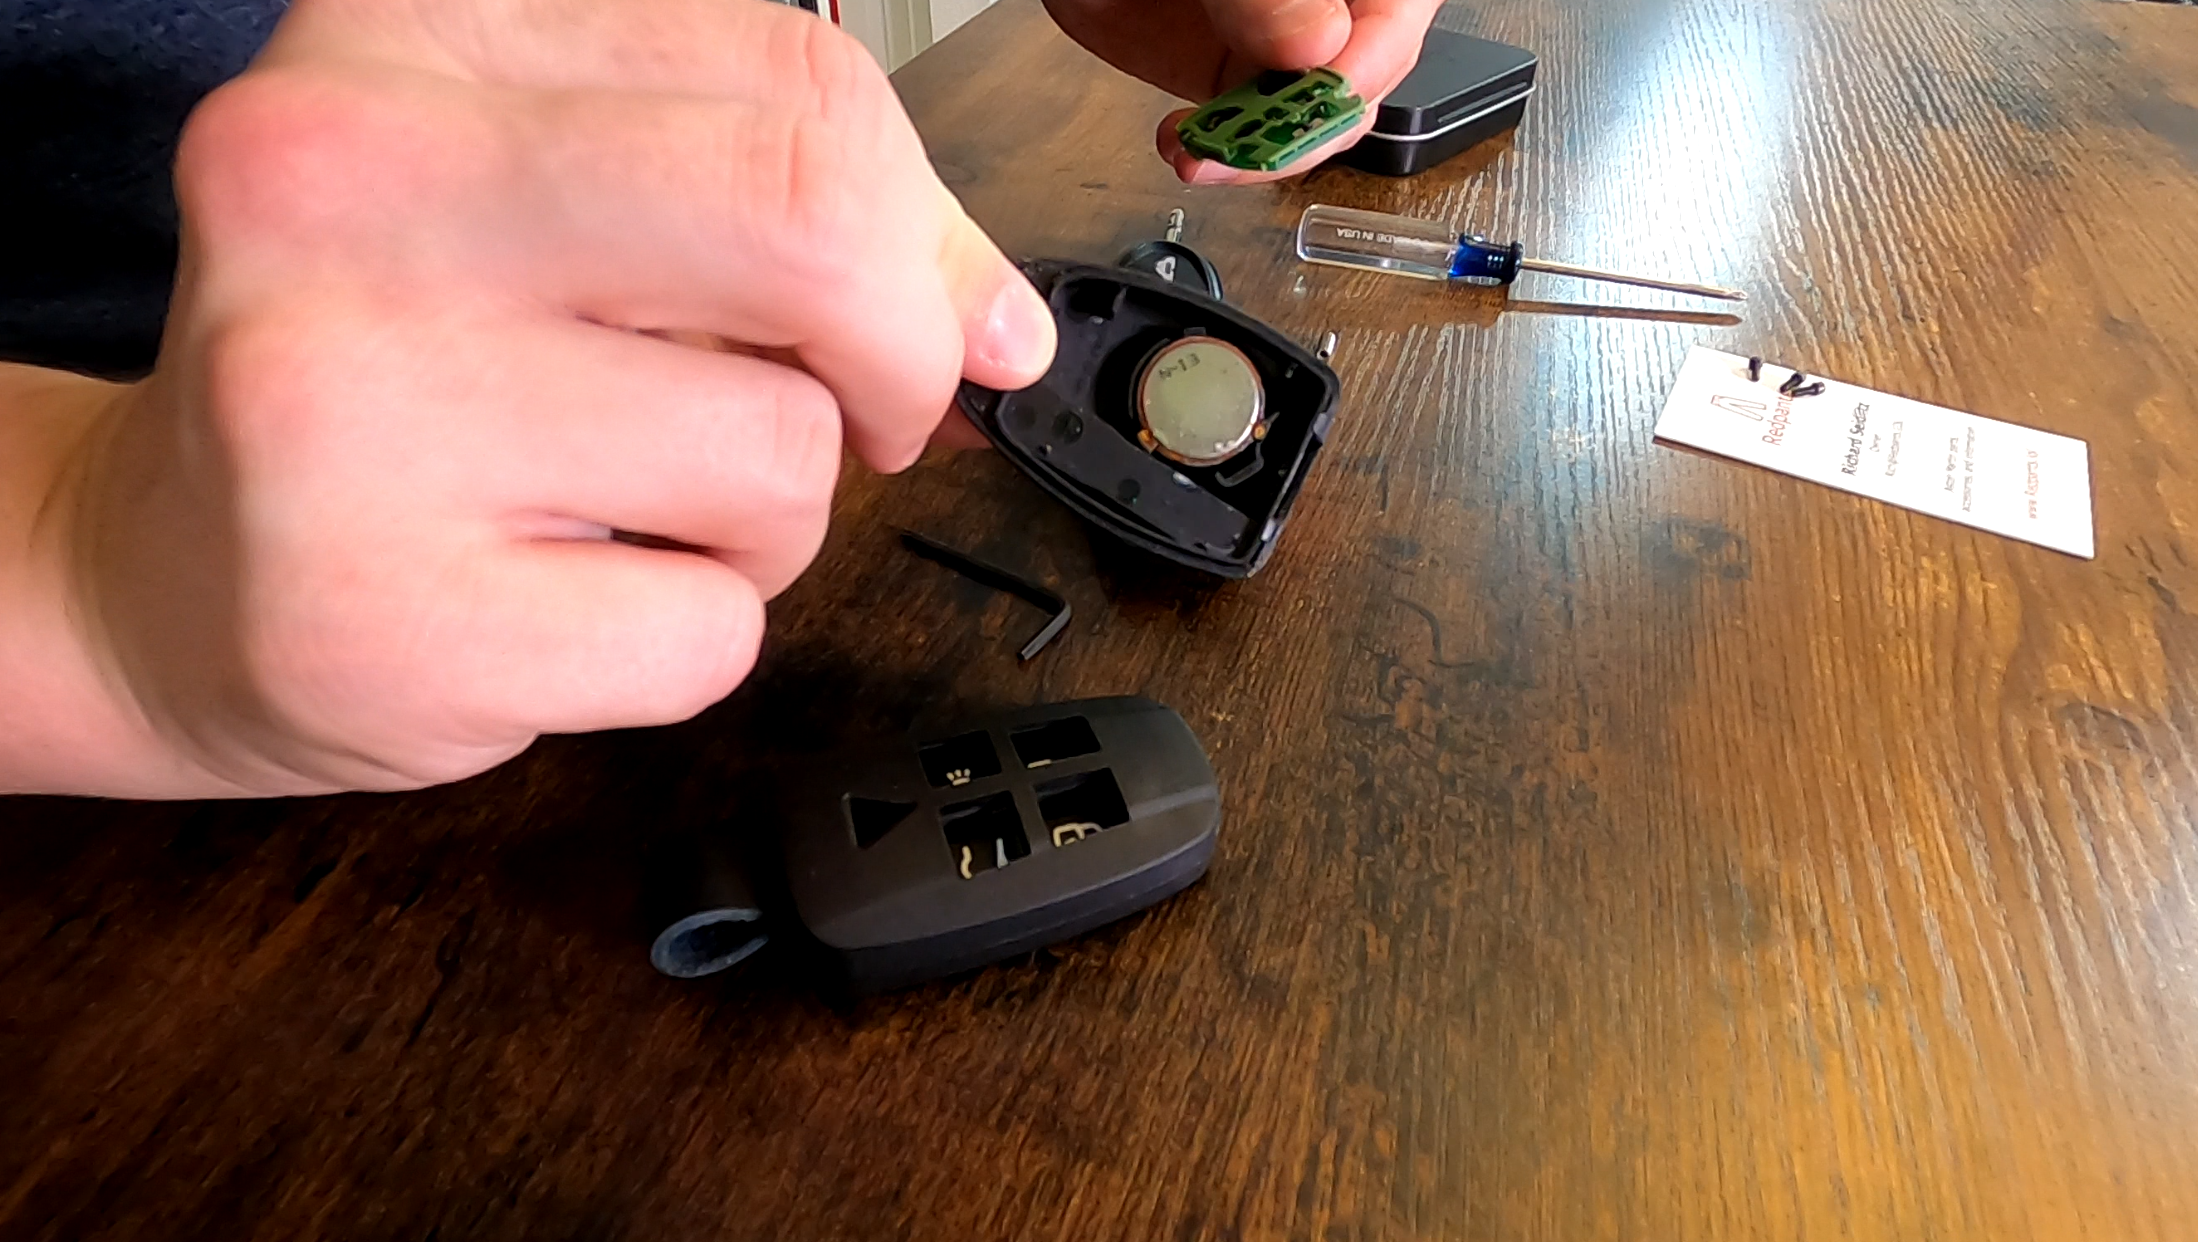
Use the Philips-head screwdriver and 2mm Allen key to remove the two fasteners that hold the OEM fob together. The picture below shows the Philip-head screwdriver pointing at the Philips-head bolt, and my finger pointing at the Allen-head bolt.

Step 2
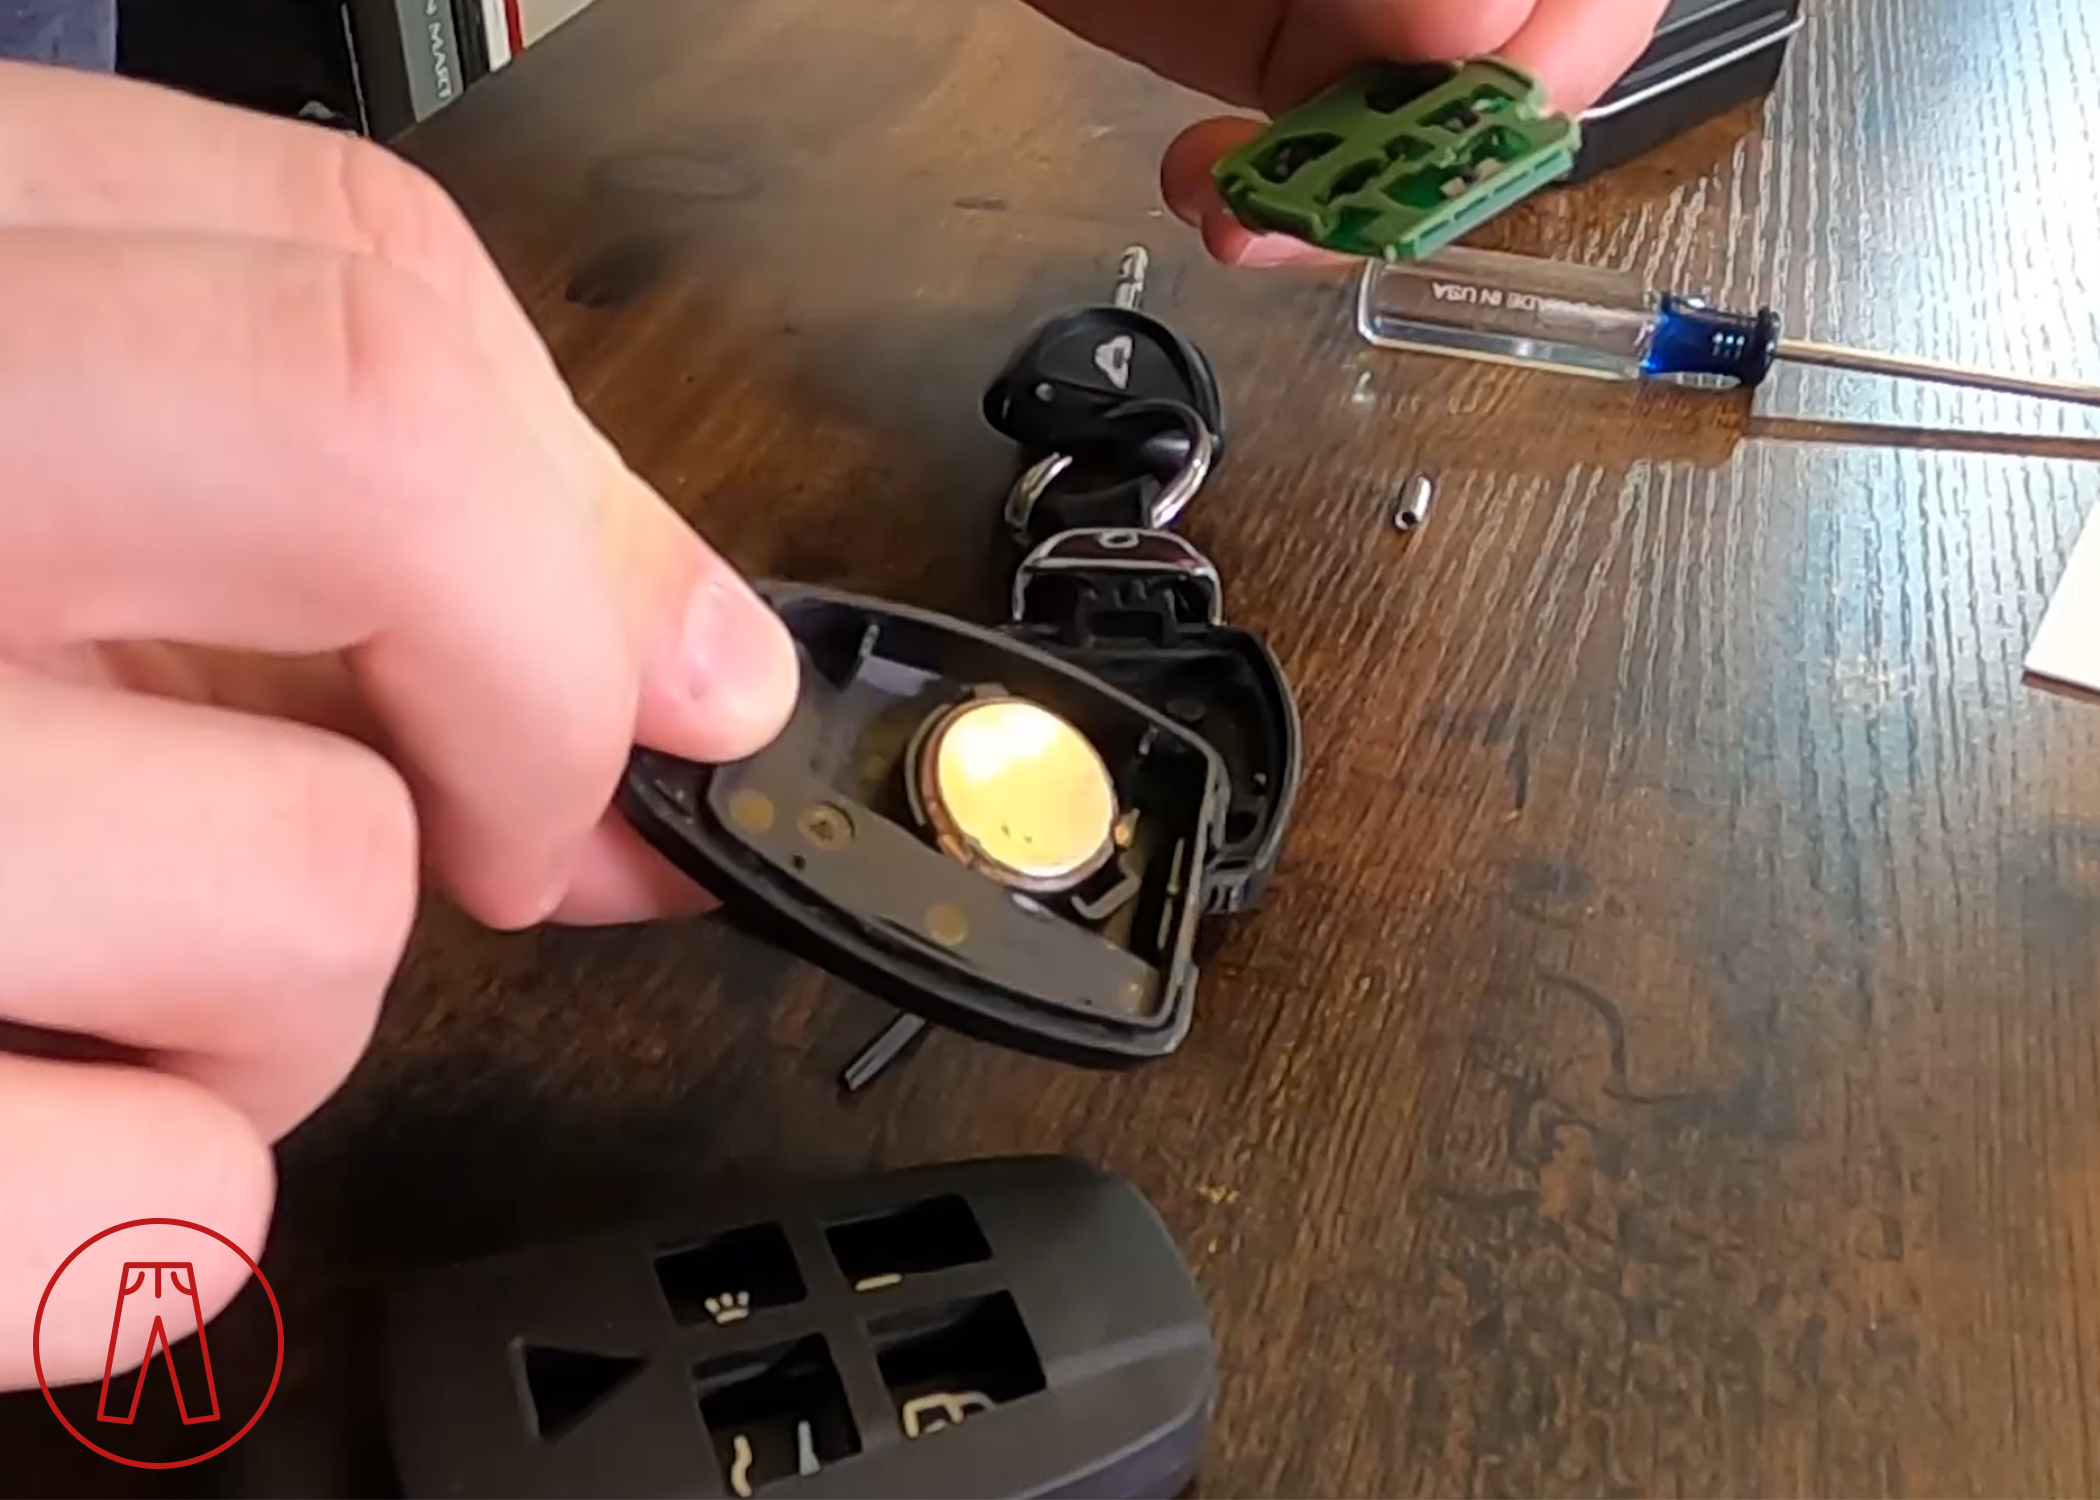
Pull the chrome cap away from the fob body, then push the switch on the bottom of the fob to the side to release it and open the fob.

Step 3
If you’re swapping over to the Spinstate fob: Skip down to Step 4.
If you’re keeping the OEM fob: Remove the old battery from the fob and put the new battery in its place. Make sure the battery is positioned the correct way - the bottom of the battery should be visible. Check the picture below for reference if needed.
Test to make sure the fob works and then you’re done!
Step 4
Remove the internals from the OEM fob. You’ll have the circuit board, a rubber pad, and the individual buttons. The circuit board and rubber pad are needed, but the buttons are not. The Spinstate fob may contain a red “filler” piece. This is only used to fill in the space where the fob internals go during shipping, so it should be set aside.
Step 5
Set the top half of the Spinstate fob body button-side down, then drop the Spinstate buttons into the fob body. The buttons are all one piece and should not be separated.

The rubber pad should still be on the circuit board. If it has come off, push it back onto the circuit board, then drop the circuit board with the rubber pad into the fob body on top of the buttons.

Step 6
Make sure the clear piece (the “grille”) is set in place, as seen in the pictures in Step 5.
The standard option for the Spinstate fob is Obsidian Black leather. If you have an additional leather strap in a different color, swap them now.
Step 7
Install a new battery in the other half of the fob body, making sure it’s positioned correctly: the bottom of the battery should be visible.
Carefully put the two halves together, making sure everything stays in place, and use the three Allen-head bolts supplied with the Spinstate key fob to bolt the fob body together.
Test the fob to make sure it works, then you’re all done!