
Hood and Trunk Strut Replacement DIY Guide
DISCLAIMER
As always, follow all safety protocols. Don't undertake this task if you aren't comfortable with it, fully understand it, and are capable of completing it. The information provided may be incomplete or inaccurate. You are ultimately responsible for anything you do. Neither Redpants, LLC or myself is responsible or liable for anything that may occur.
The hood, trunk, and doors on an Aston Martin are held in place when opened by gas struts. Unfortunately, these tend to wear out after a while - generally 5 years or so. You'll know when the struts need to be replaced because they won't be able to support the weight of whatever you're opening. That can be particularly problematic when you find out the hard way... like many of us have... when the hood or trunk has falls on your head.
The hood and trunk struts are very easy to replace. Having an extra pair of hands helps - the other person can hold the hood and trunk open while you replace the struts - but you can still do this solo if needed. The door struts are a little more involved, so those are covered in another DIY guide.
Needed
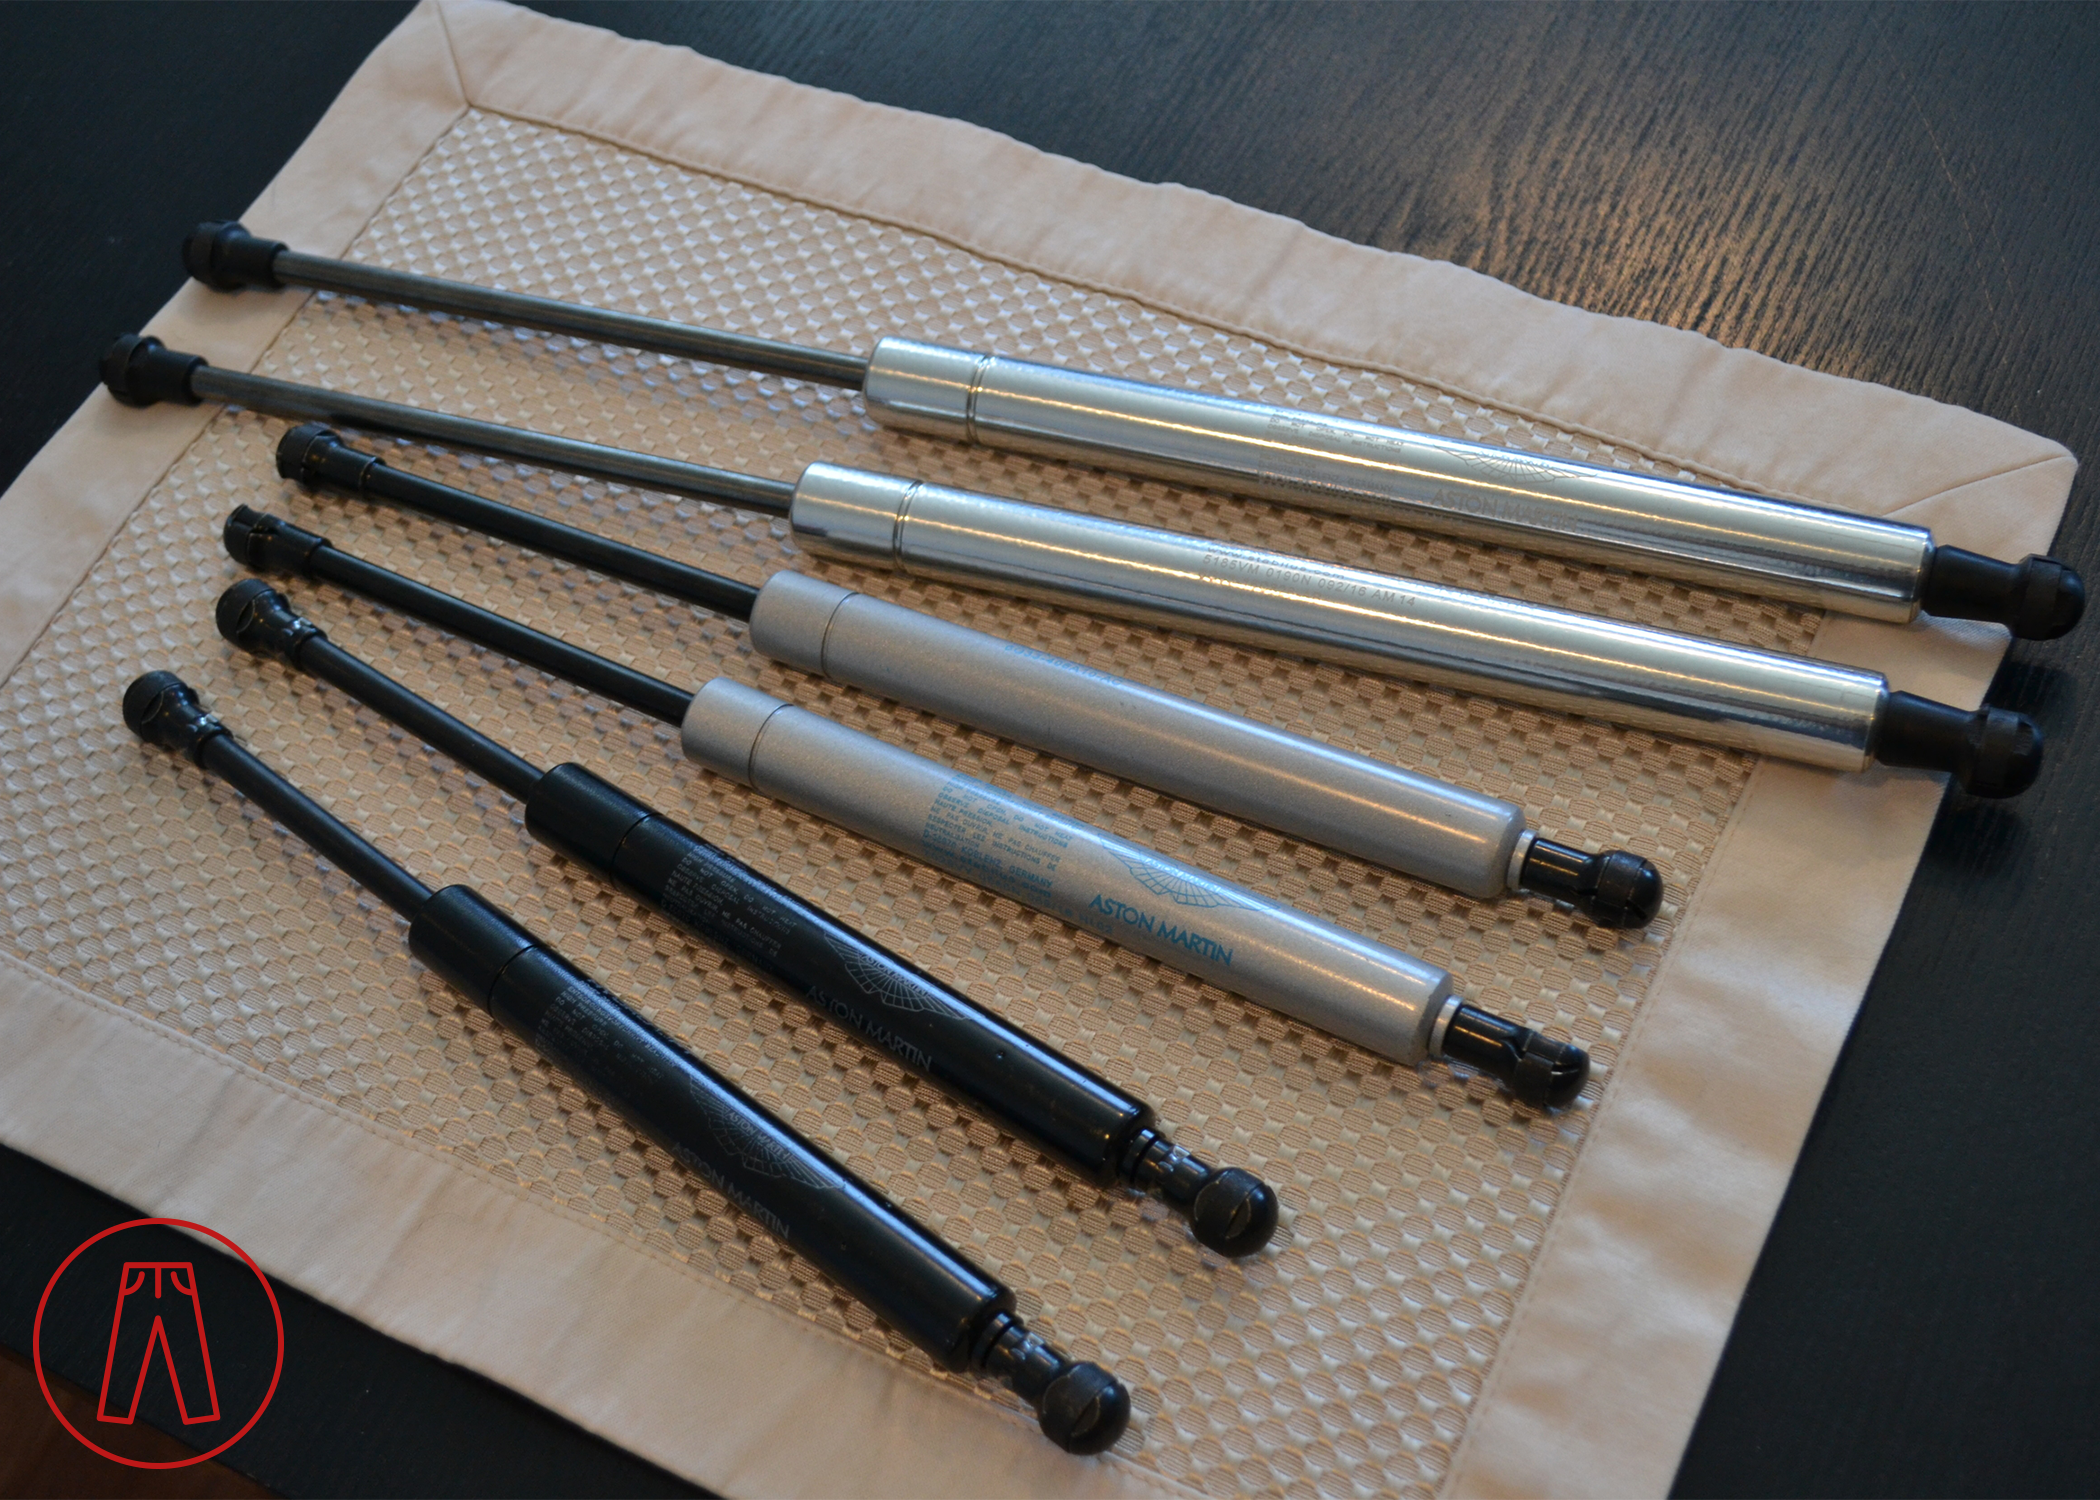
New hood struts
- Vantage
- DB9 / DBS / Rapide
New trunk struts
- Vantage
- DB9 / DBS / Virage
Tiny flat-head screwdriver
About 10 minutes
Step 1
On each end of the struts are ball sockets with retaining clips. There's an open spot under the middle of the retaining clip. Put the tip of the screwdriver into that spot and gently pry open the retaining clip. You don't need to remove it all the way. Once it pops back a bit, you can pull the socket off the ball mount.

Step 2
Repeat Step 1 for the other end of the strut. You can now remove the strut entirely.
Step 3
Install the new strut by pushing the sockets onto the ball mounts, orienting the strut the same way as the original had been. You should be doing these one at a time so, if you’ve forgotten how it was, just look at the other one.
Note: You do not need to open the retaining clip when installing the new door struts. Opening the clip will make it easier to pop the socket onto the ball mount, but you risk misaligning the retaining clip. Leaving the retaining clip “closed” may take more force to get the socket seated on the ball mount, but will eliminate the risk of the retaining clip being misaligned.
Step 4
Repeat the process for each of the struts you’re replacing.
And that’s it!