
Repairing the Headliner
DISCLAIMER
As always, follow all safety protocols. Don't undertake this task if you aren't comfortable with it, fully understand it, and are capable of completing it. The information provided may be incomplete or inaccurate. You are ultimately responsible for anything you do. Neither Redpants, LLC or myself is responsible or liable for anything that may occur.
Nothing screams “janky shitbox” like a sagging headliner. And yet, here we are.
I was driving along one day and suddenly was wearing a hat. Not just any hat, mind you - this was a headpiece of fine Alcantara with bespoke tailoring. As a car guy, I can appreciate the subtle attention to detail that many of us do to match our attire with our vehicles and, in this case, I had become so perfectly matched that my sudden crown was an exact match to the interior of my Aston Martin… because it was my interior.
Huge thanks to my buddy Mike Z for the original DIY Guide he created ages ago, which I used as the basis of this one (with his permission).
Needed
Philips-head screwdriver
Trim tools
T15, T25, and T30 Torx bits
Ratchet
Alcantara fir tree clips
Scraper
Adhesive spray
A few hours
Before You Begin
The original adhesive between the headliner and headliner pad has the look and feel of thick Cheetos dust. It does not taste the same, nor should you attempt to confirm this. Be ready for it to get all over the place during this job and be ready to clean up quite a bit to contain it.
The Torx needed for this job aren’t standard Torx bits. Rather, they’re narrow ones (as seen in the pic below). Normal Torx bits may be too wide to fit in to the spaces required for this job.

This guide includes removing the interior trim on one side and rear of the headliner while only loosening the trim on the other side and front of the headliner. This makes it much easier to maneuver the headliner back into position.
Step 1
Remove the gauge cluster hood.
Step 2
Remove the trim panels from the dashboard on both sides of the steering wheel. These have clips that pop out. I’d suggest starting from the bottom of the panel and working your way up.
The vent on the outer panel is not attached to anything, so just focus on the trim panel itself.

Don’t mind my missing waterfall dash panel - it was removed as I was also updating my infotainment system.

Step 3
Use the Philips-head screwdriver to remove the three screws securing the trim panel on the dashboard between the steering wheel and windshield.
There are two screws on the outer side.

And one screw on the inner side.

Press up from underneath to pop the clips loose and release the trim panel so it can be removed from the car.
Step 4
Remove the two Alcantara fir tree clips on the trim panel that runs above the door. There’s one shown in the picture below, and one further back toward the rear of the car.
Note: These can break very easily so don’t be surprised if you need new ones to replace them.

If the fir tree clips break (they probably will), you can try to use some pliers to remove the ends but that probably won’t work too well. Instead, you can “punch out” the end using a screwdriver or punch pin. Check out my video for this job to see that in action.
Use the thin T25 Torx bit to loosen the bolt behind each of the fir tree clips.

Pull the trim piece upwards and inwards to clear the brackets and remove it. The leading edge of the trim panel is not attached to anything forward of the Torx bolt shown in the picture above. The trim panel flexes a bit so you can work it over the cabin brace bar at its rear end.

If you can’t get the trim panel free of the bolts, you can remove them entirely - it’ll just be a little more difficult to reinstall the trim panel during reassembly.
Repeat the process for the trim pillar on the other side of the cabin, but don’t actually remove the trim panel from the car (just loosen the bolts).
Step 5
Remove the two T15 Torx bolts (one on each side) of the rear headliner header trim. Each one is located near the cabin brace bars, as seen below.

Pull down on the header trim panel to release the fir tree clips holding it in place, then remove the trim panel from the car.
Step 6
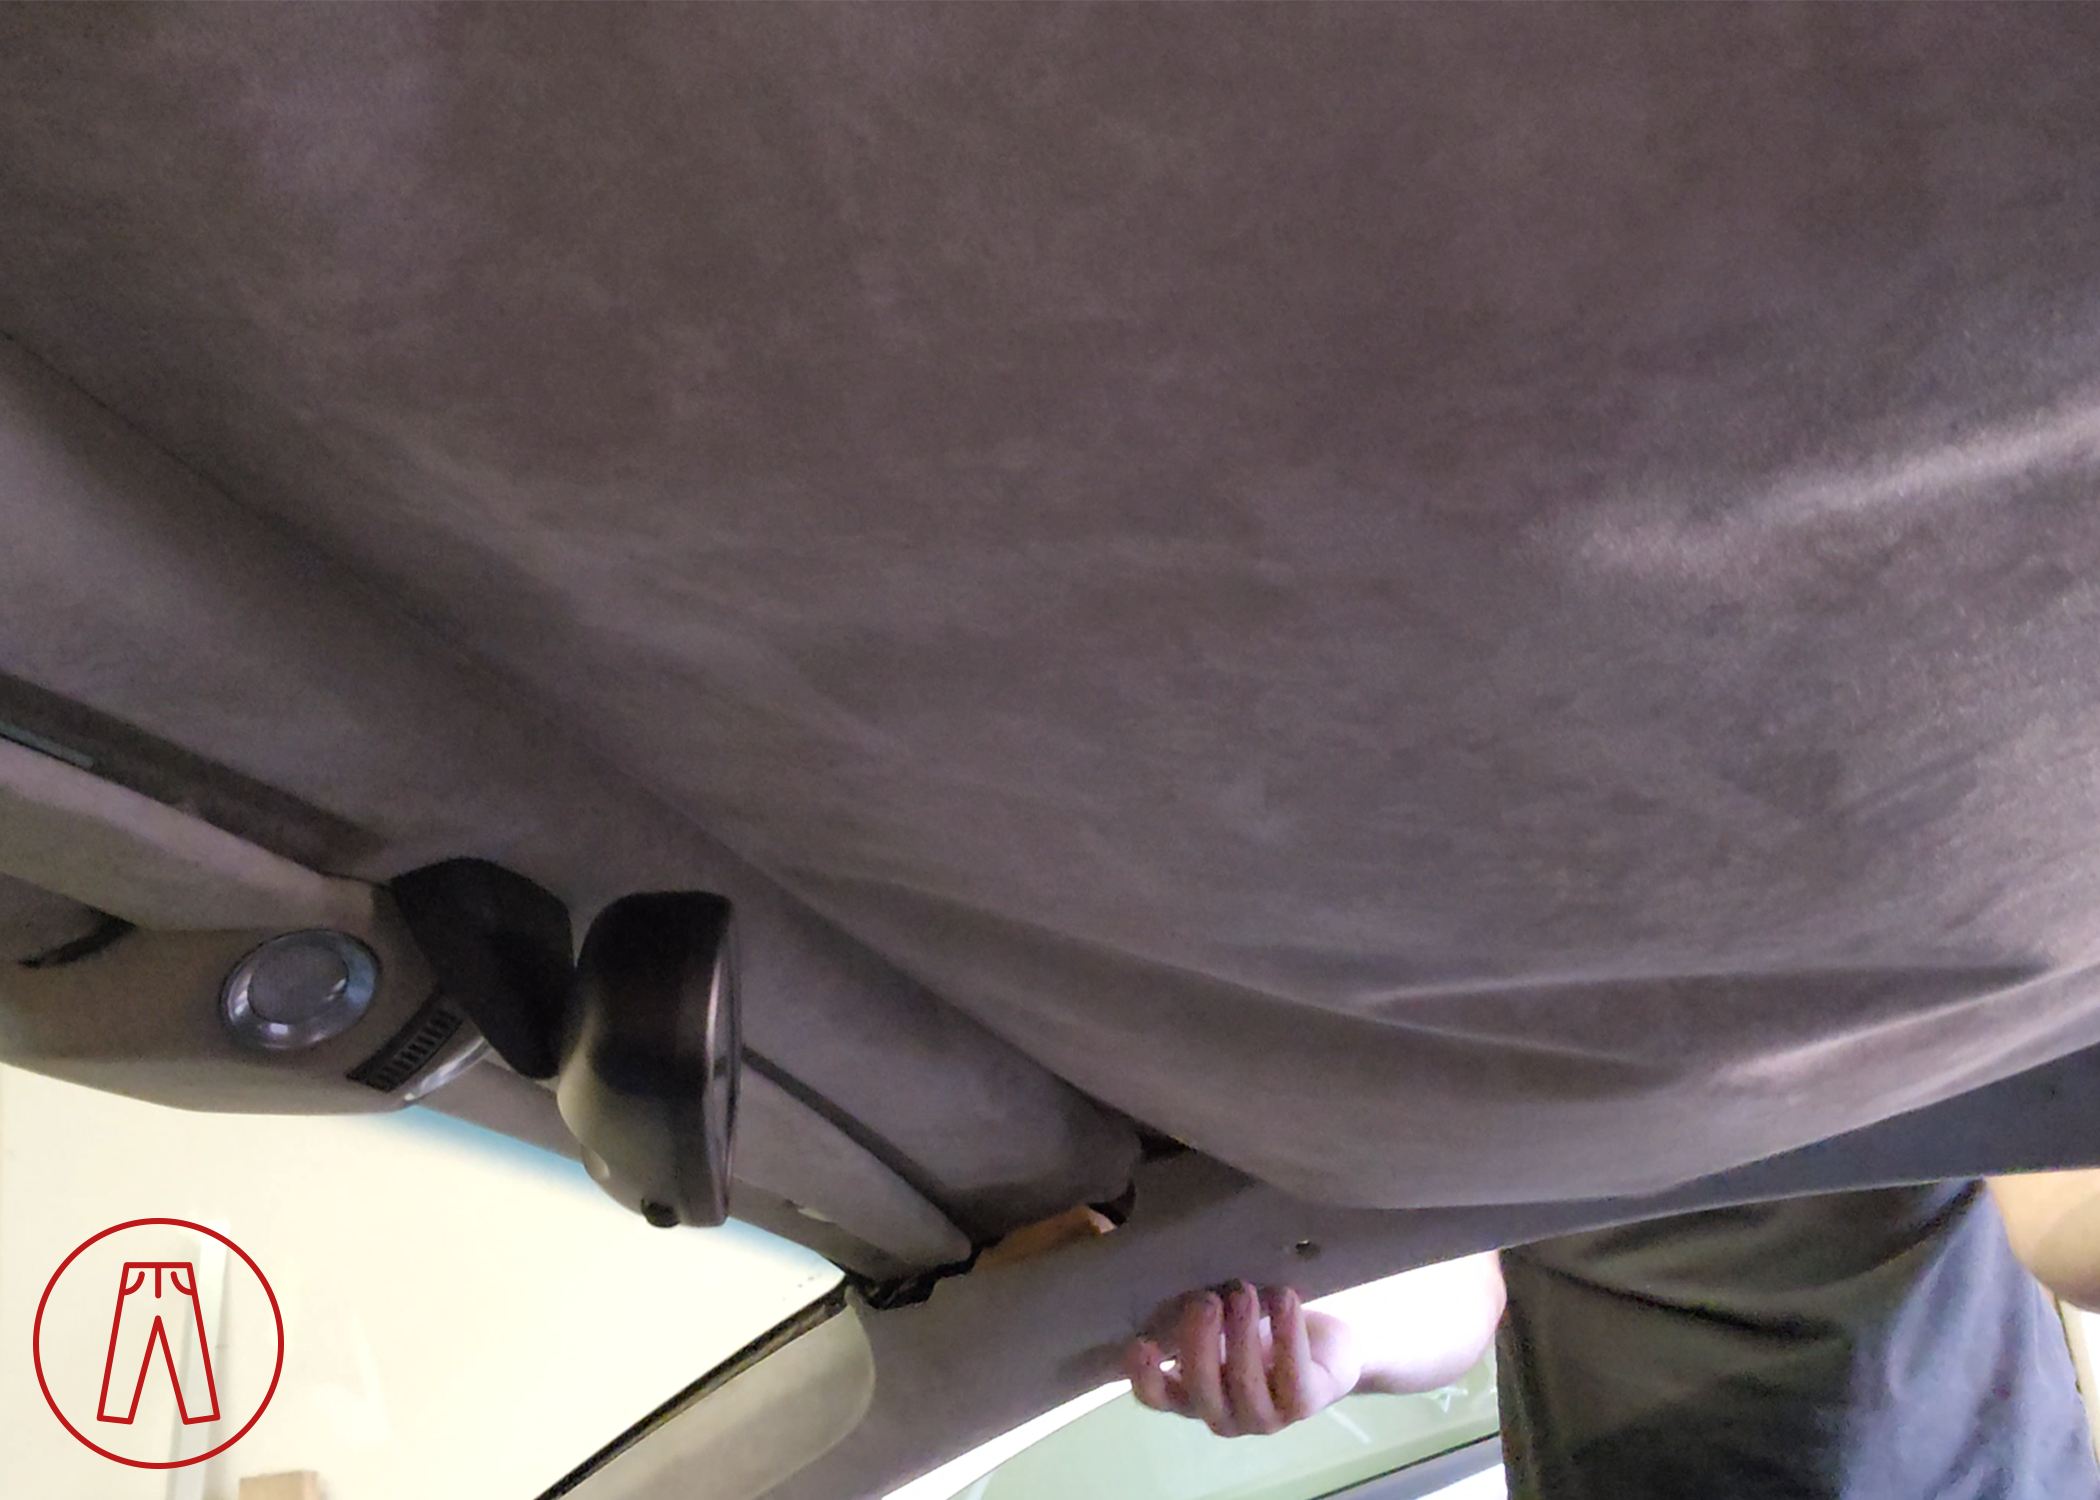
Remove the T30 Torx bolt that connects the rear-view mirror to the forward header assembly panel.

The bolt will stay inside the base of the rear-view mirror once released.

Pop out the plastic trim in the map light housing. I found that pulling it out from the bottom with one hand while using a trim tool from the top worked extremely well.
Use the Philips-head screwdriver to remove the screw securing it in place.

Pull down on the map light housing to remove it, but don’t pull it completely away (the map lights themselves will still be connected).
Step 7
Remove the three plastic discs holding the headliner pad in place, then remove the headliner pad from the car.

If you’re having trouble clearing it, release the fir tree mounting clip at the rear of the headliner for extra clearance to remove the headliner if needed.

Step 8
Scrape away the spray-adhesive, being careful to control the mess.

I found a metal scraper works great for the headliner pad, while using your hands works best for the Alcantara - use one had to rub away the adhesive and the other to control the Alcantara itself (while keeping this hand clean since it’s going to be touching both sides of the Alcantara).

Step 9
Make sure all the orange stuff is cleaned up, then lay out the Alcantara headliner over the headliner pad. I found that using the “tabs” on the rear edge of the headliner (the left side of the picture below) worked really well for alignment as well as the edges of the headliner and headliner pad.

Use your [clean] hands to smooth out the Alcantara headliner a few times in a few directions to make sure the material is laying properly on the headliner pad, keeping in mind that it might seem flat but it’s actually a concave surface.
Use a spray adhesive to re-attach the Alcantara headliner to the headliner pad. Wait for the adhesive to cure according to its instructions.
Step 10
Once the adhesive bonding the headliner and headliner pad has cured, gently “test” them with some totally not-silly gentle waves in the air to make sure they don’t separate.
Installation is in the reverse order of Steps 7 through 1.