

FEAD Belt and Idler Pulley DIY Guide
DISCLAIMER
As always, follow all safety protocols. Don't undertake this task if you aren't comfortable with it, fully understand it, and are capable of completing it. The information provided may be incomplete or inaccurate. You are ultimately responsible for anything you do. Neither Redpants, LLC or myself is responsible or liable for anything that may occur.
The front end accessory drive (FEAD) belt of the V8 Vantage can have a bit of a “chirp” when the engine is cold. Aston Martin has introduced updated versions of both the FEAD belt itself and one of the idler assemblies (AKA “idler pulley”). However, these were introduced at different times so some cars may have one updated part but not the other. To fully fix the chip caused by the older parts, both the FEAD belt and idler pulley must be replaced with the updated versions.
Needed
Updated idler assembly
Updated FEAD belt
15mm socket
8mm socket
Ratchet for the above sockets
3/8"-drive pry bar
About an hour
Torque Figures
Belt tensioner: 34-46 Nm. (25-34 lb/ft)
Idler pulleys: 34-46 Nm. (25-34 lb/ft)
Step 1
Raise the car using a lift or with a jack and jack stands.
Step 2
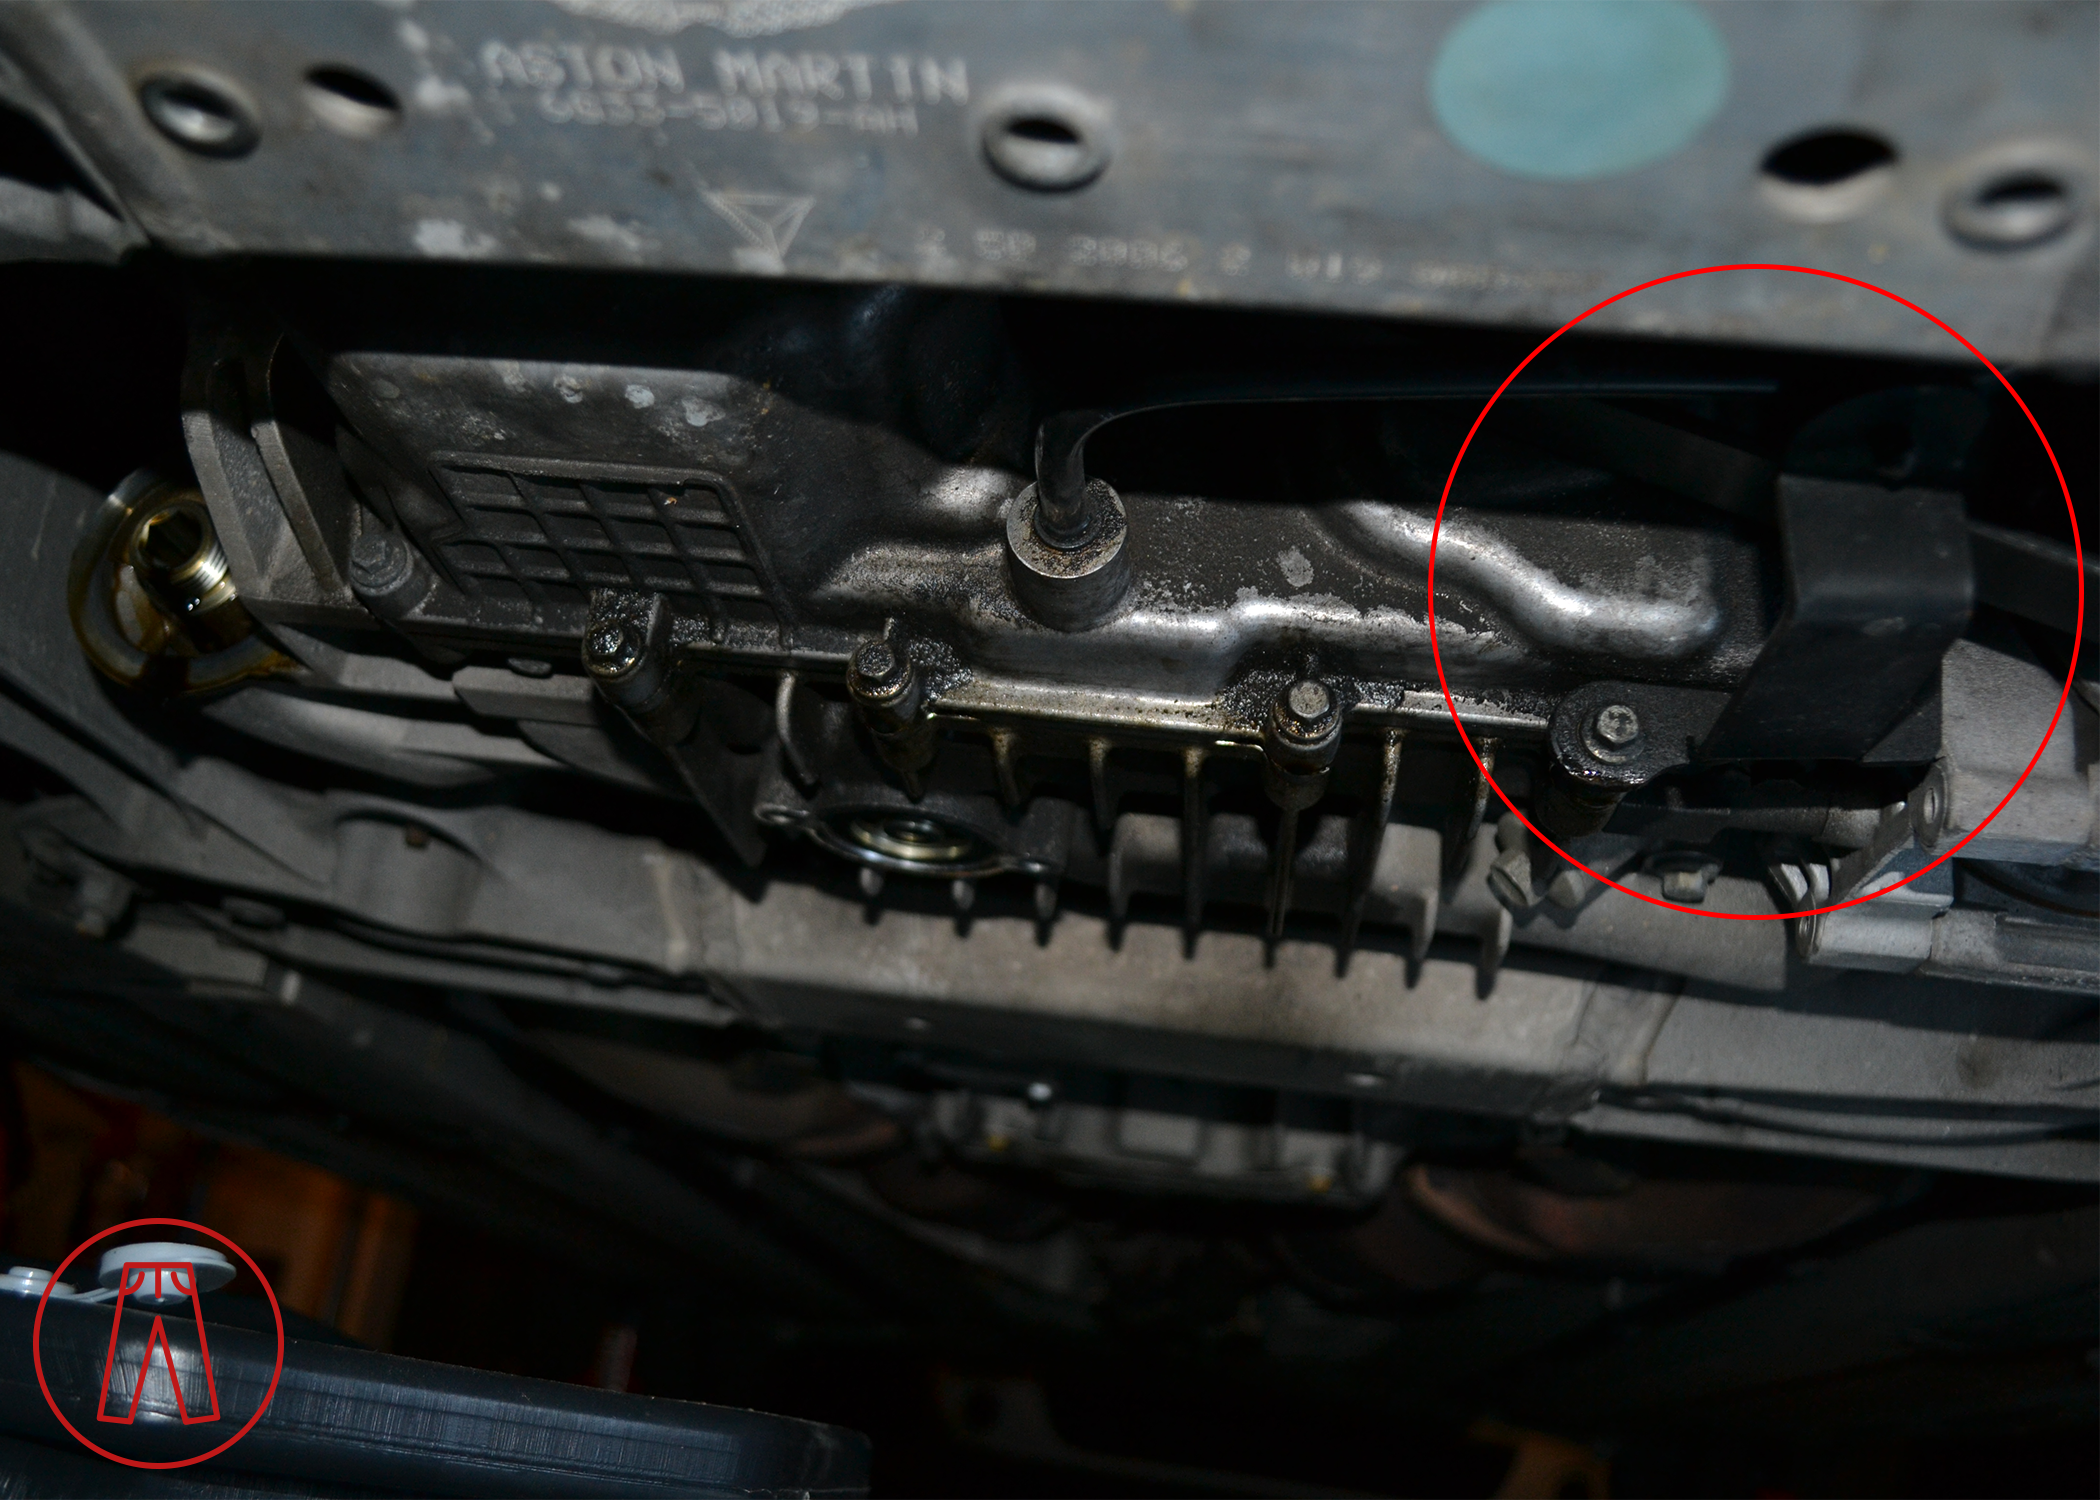
Get under the car and use the 8mm socket and ratchet to remove the metal bracket holding the return line for the air-oil separator. The bracket is circled in the picture below. You don’t have to remove the bracket completely, you just need to remove the bolts so you can push the bracket out of the way.
Step 3
Remove the original FEAD belt. You can either loosen the belt using the self-tensioner arm and remove it that way, or you can cut the old FEAD belt and then pull it out.
Be careful if you decide to cut the old FEAD belt to remove it. Yes, it’s much easier to remove that way, but if for any reason there’s an issue with your new FEAD belt, you won’t be able to go back to your old one after cutting it.
Step 4
The new idler assembly looks very different than the old one, so don’t be surprised when you compare the two. The picture below shows the old one (left) and the new one (right).

The idler assembly being replaced is the pulley shown in blue in the picture below. Use the 15mm socket and ratchet to remove the old idler assembly.
Note: The diagram below is not made to scale - I made it myself in Adobe Illustrator based on a sketch I jotted down on a slip of paper. So, it might not be perfect, but it’ll work as a map to show the FEAD belt routing.

Step 5
Route the new FEAD belt around the maze of pulleys according to my wicked awesome map above. The best way I've found to do this is to get the belt seated on every pulley except the idler pulley on the left side of the crank pulley. The idler pulley to the left of the crank pulley isn’t ribbed so you’ll be able to get the FEAD belt onto it much more easily than any of the others, so saving it for last may be best.
Use the 3/8"-drive pry bar to pull the tension arm but putting the end of the prybar into the square hole (marked by the blue square in the picture above) and pushing it to the side. This will give you more slack in the FEAD belt and allow you to work the belt onto the last pulley. Once the belt is seated, carefully release the tension arm.
Check and double check that the belt is fully seated on each pulley and isn’t twisted or rolled anywhere. Be absolutely certain the belt is correctly situated or it can be quickly destroyed when the engine is started.
Step 7
Reattach the air-oil separator drain hose bracket with the 8mm bolts, double check that everything is okay, and then start up the engine to test the new belt and pulley.
And that’s it!