
Replacing the Exhaust Manifolds DIY Guide
DISCLAIMER
As always, follow all safety protocols. Don't undertake this task if you aren't comfortable with it, fully understand it, and are capable of completing it. The information provided may be incomplete or inaccurate. You are ultimately responsible for anything you do. Neither Redpants, LLC or myself is responsible or liable for anything that may occur.
Not a simple job by any means but one that I get asked about often enough that I figured I’d put together a DIY Guide giving some guidance. This DIY Guide is based on my 2007 V8 Vantage, which is the same for all V8 Vantages from 2006 to 2010.5, but varies for cars built after that due to catalytic converters being added to the exhaust manifolds. (If you don’t know why that distinction matters, check out my Exhaust System Info Page for more info.)
Needed
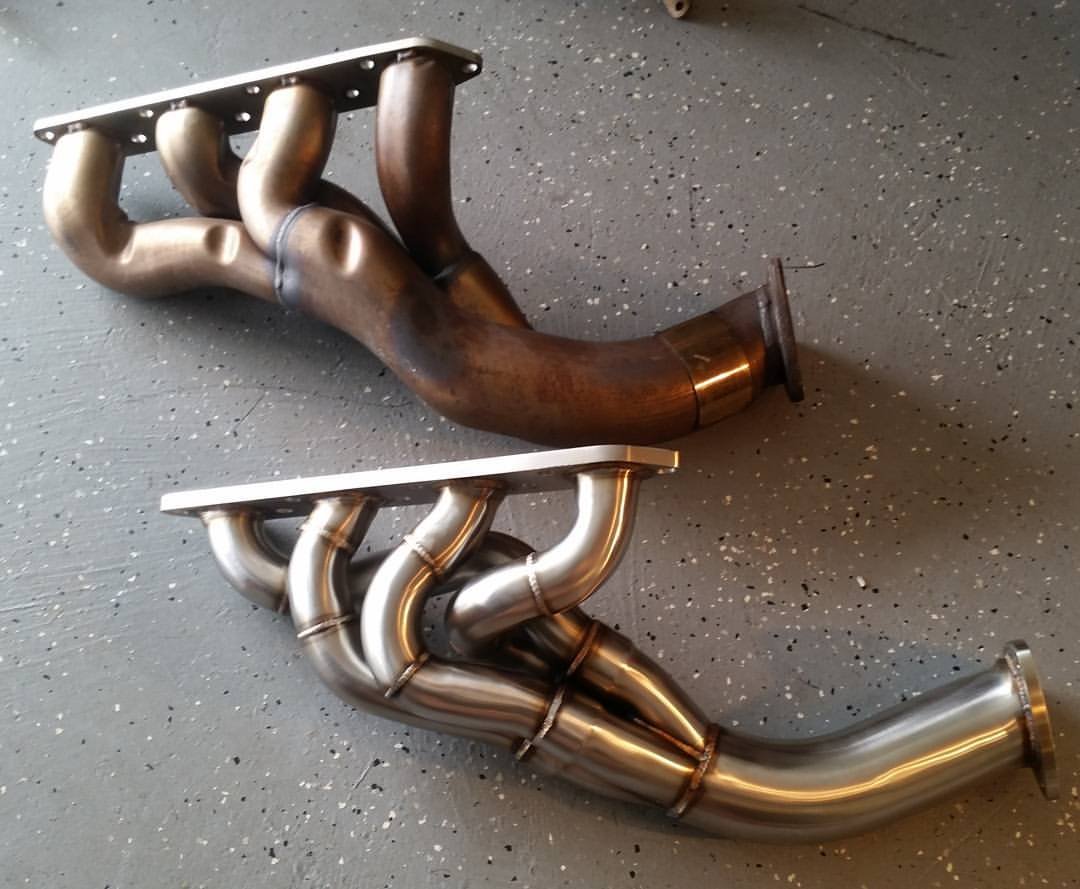
Exhaust manifolds (optional)
New exhaust manifold gaskets
Mid-depth sockets
Wobble/universal joints
Extensions
T30 and T40 Torx bits
Ratchets for all the above
Philips-head screwdriver
Floor jack (if doing the job on jack stands)
Transmission jack (if doing the job on a lift)
PB Blaster or similar rust-busting spray
Tools to remove the catalytic converters
About 8 hours
Before You Begin
Mid-depth sockets make this job infinitely easier - so much so that I wouldn’t even attempt it with short or deep sockets. The issue is that short sockets are too shallow for the OEM manifold studs, and deep sockets are too long to get inside some of the spaces between runners.
You’ll need a variety of “arrangements” for sockets, wobble joints, extensions, and even access points for this job. Be ready to try different tool combinations and different approaches for each fastener.
This job is different on the pre-MY10.5 and post-MY10.5 cars as the primary cats are located in the exhaust manifolds of the latter. The pictures used throughout this DIY Guide are for the former, unless specifically stated otherwise.
The engine needs to be lifted slightly in order to get clearance to remove the manifolds. Keep an eye on the engine intake manifold while lifting the engine to ensure it doesn’t press into and damage the underside of the windshield cowl. Lifting the engine will require either a floor jack (if you’re doing this job on jack stands) or a transmission jack (if you’re doing this job on a lift). Use this link to get my favorite floor jack from Amazon.
The right-hand (RH) manifold is much more difficult to replace due to its heatshield, the EGR return pipe, and the starter. If you only need to do one side (say, if you’re replacing the clutch), then it’s best to do the left-hand (LH) manifold as this one has much more room to work and is easier to replace.
The original nuts and studs may be very rusted and corroded, so it may be worth replacing them with new ones or using bolts with lock washers. If bolts/washers are used in place of nuts/studs, reusing one nut and stud on for each manifold can make it much, much easier to align the manifold to the holes in the engine.
Torque Ratings
Engine mounts: 47 Nm (35 lb/ft)
Exhaust manifold: 18-22 Nm (13.5-16.5 lb/ft)
Step 1
Remove the main engine bay strut brace using the T40 Torx bit. This will allow the engine to be lifted in the engine bay.
Step 2
Break the lug nuts loose on the front wheels (but don’t remove them). This will make them easier to remove when the car is off the ground.
Get the car on jack stands or use a lift, then remove the front wheels, front fender liners, and front undertray.
Step 3
Loosen the engine mount nuts as far as they can go until they’re at the end of the engine mount studs but are still fully threaded. The picture below shows the RH engine mount (big red circle) and the nut that fastens it to the front subframe (small red circle). The LH engine mount is on the other side of the engine.

Loosening the nut but not fully removing it will allow the engine to be lifted, but not so far that it will damage the underside of the windshield cowl.
Step 4
Remove the catalytic converters located immediately behind the exhaust manifolds. If you have OEM cats, they’ll have studs and nuts, as seen in the picture below - the red circles show the backside of one stud (on the left) and the other side with a nut fastened onto the stud (on the right).

There is another of these on top of the cat flange (three total), plus the clamp at the tail end of the catalytic converter.
Make sure to disconnect the o2 sensors before removing the catalytic converters on pre-MY10.5 cars before pulling the cats away from the car. For post-MY10.5 cars, the o2 sensors are located in the exhaust manifolds.
Step 5
Use the 10mm socket to disconnect the EGR return pipe from the RH exhaust manifold. The flange where the EGR return pipe connects to the header is located near the heat shield. It’s circled in red in the picture below to help you locate it.

Step 6
Use the sockets, wobble joints, and extensions to remove the fasteners from the RH exhaust manifold. There are eight that connect the exhaust manifold to the engine block. You can see the holes for them in the picture below.

Step 7
Use the floor jack or transmission jack to carefully lift the engine until the engine intake manifold is nearly touching the underside of the windshield cowl. Loosen or tighten the engine mount nuts accordingly so they prevent the engine from lifting into the windshield cowl but still give as much engine lift capacity as possible. This will give you clearance to remove the RH exhaust manifold.
Step 8
Use the mid-depth sockets, wobble joints (universal joints), and extensions to remove the eight nuts holding the manifold to the engine. You’ll need to try a different approach/access point and combination of joints and extensions to reach each one, so be ready to mix-and-match them as needed. This job can go much quicker if you experiment as you go rather than struggling at length with one specific setup.
Step 9
Install the exhaust manifold with a new gasket.
Reconnect the EGR return pipe.
Note: The original nuts and studs may be very rusted and corroded, so it may be worth replacing them with new ones or using bolts with lock washers. If you’re replacing the nuts/studs with bolts/washers and are having trouble aligning the manifold to the engine, try using one of the studs to align the manifold at first.
Step 10
Repeat Steps 6 through 9 for the LH exhaust manifold (minus the non-existent EGR return pipe on the LH side).
Step 11
Tighten the engine mount nuts that were loosened in Step 3.
Step 12
Reinstall the catalytic converters with new gaskets.
Note: Don’t forget to reconnect the o2 sensors.
Step 13
Make sure the all exhaust components are fully bolted up and clamped down, then fire up the engine and check for exhaust leaks or other issues.
Step 14
Reinstall the front fender liners, undertray, and wheels.
Lower the car and make sure the lug nuts are properly torqued before driving the car and check them after your first drive (and retorque as necessary). Also, pay attention to exhaust leaks or other issues during your first drive.
And that’s it, all done!