
Convertible Roof Module Replacement DIY Guide
DISCLAIMER
As always, follow all safety protocols. Don't undertake this task if you aren't comfortable with it, fully understand it, and are capable of completing it. The information provided may be incomplete or inaccurate. You are ultimately responsible for anything you do. Neither Redpants, LLC or myself is responsible or liable for anything that may occur.
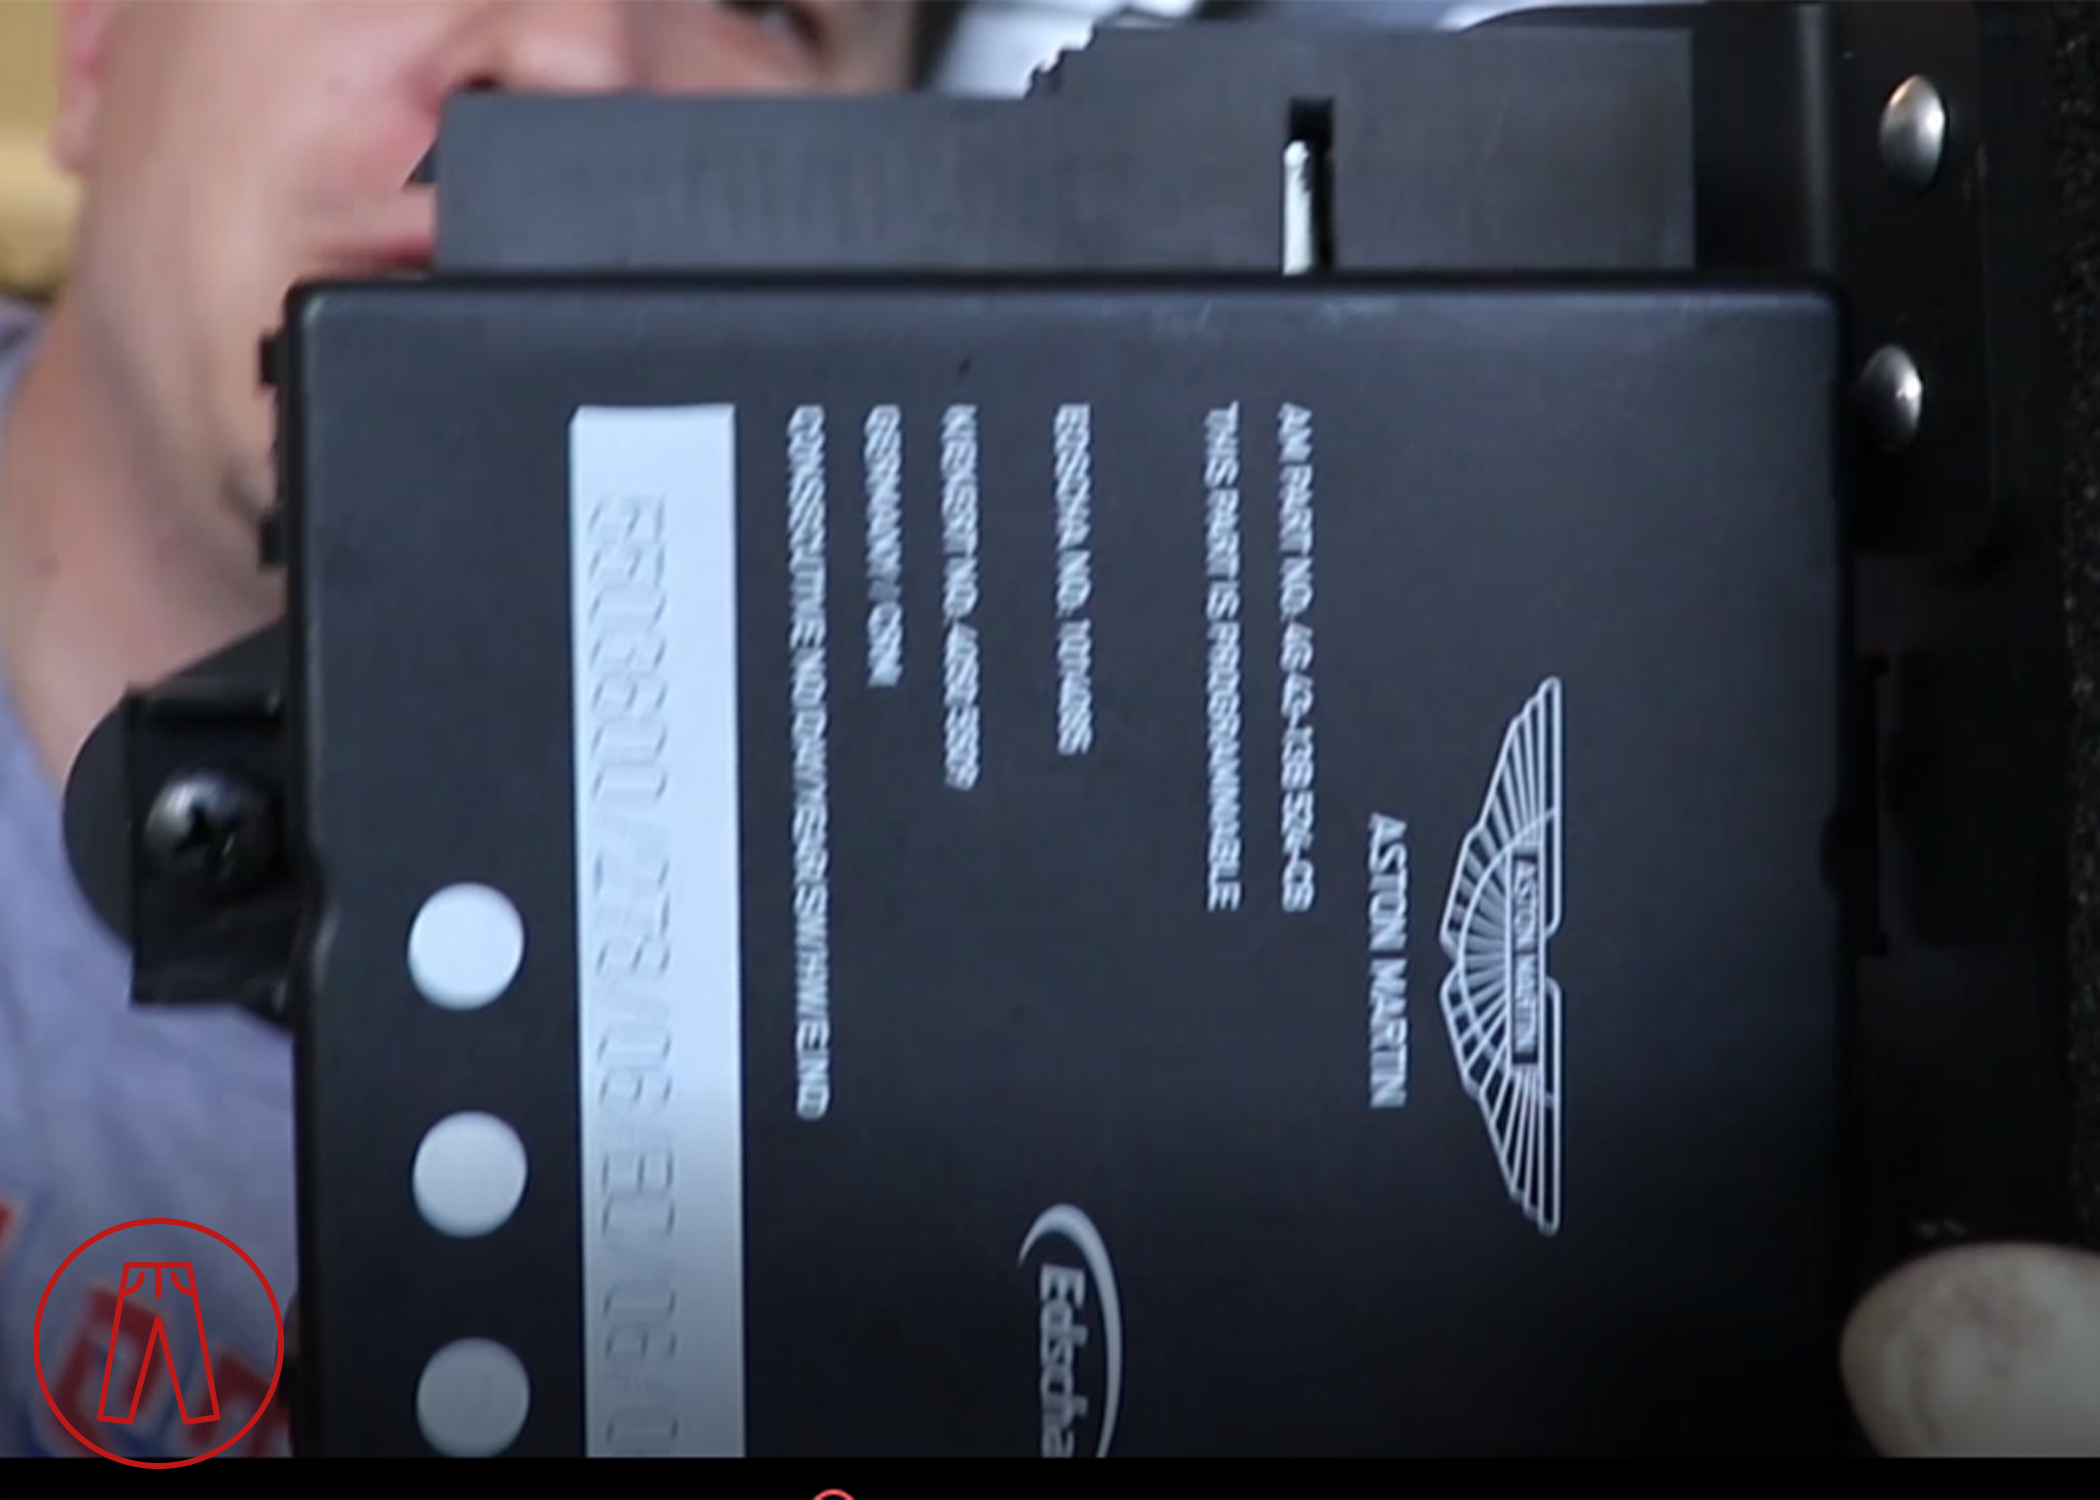
The convertible roof module (CRM) is a common failure point in convertible Aston Martins. Replacing it is a very easy job that requires only a couple of tools, but to finish it you might need to go to an Aston Martin dealership as the CRM may need to be programmed to the car. I did this job on a DB9 in the video, but the Vantage is the same process, though with some Philips-head screws added in for the fender liner.
Needed
New CRM
T30 Torx bit
Ratchet
Philips-head screwdriver
About half an hour
Before you begin
You may need to go to an Aston Martin dealership to have the new CRM programmed to your car, and your convertible roof may not work until that happens. Check with your dealership to see if they are willing and able to do this as some may refuse.
The CRM may be located on either side at the rear of the car. If you’re not sure which side your CRM is located on, you may need to check both areas to find it.
DO NOT lift only the rear of the car. There is nothing that locks the front wheels in place, so the car will roll forward if the rear is lifted on its own.
Step 1
Brake the lug nuts loose on the wheel that will come off during this job. You don’t need to remove them entirely, just one spin will do.
Raise the car using a lift or a jack and jack stands, then take off the wheel.
Step 2
Use the T30 Torx bit and ratchet to remove all the fasteners from the fender liner. On the Vantage, you'll also need to use a Philips-head screwdriver to remove the screws (the DB9 only has Torx bolts). Once all the fasteners are removed, you can start to remove the fender liner. As you're removing the fender liner, make sure you unclip the drain hose attached to the backside of the fender liner next to the coilover.
Step 3
Use the T30 Torx bit and ratchet to remove the four bolts holding the CRM in place. Now you can pull the CRM out of its place inside the chassis. You may need to use a trim tool or flat-head screwdriver to break the foam gasket seal.
Step 4
Disconnect the two wiring connectors from the CRM. Be careful not to damage the connectors! These are part of the car's wiring harness and are very difficult and expensive to replace!
Step 5
Plug in the new CRM. Make sure all of your electronics work and you have no warning messages. Your convertible roof should be the only thing that does not work at this point.
If everything's okay, reinstall everything in reverse order of the steps above.
Step 6
Take the car to a dealership to have the programming for the new CRM completed.
And that’s it!