
Brake Pad Replacement DIY Guide
DISCLAIMER
As always, follow all safety protocols. Don't undertake this task if you aren't comfortable with it, fully understand it, and are capable of completing it. The information provided may be incomplete or inaccurate. You are ultimately responsible for anything you do. Neither Redpants, LLC or myself is responsible or liable for anything that may occur.
Brake pads typically last a few years so they aren't changed too often. They're a critical part of your car, and replacing them properly ensures you'll be able to control your car while driving. This job can be intimidating, but it's actually pretty straight-forward.
If you’re not sure what brake pads to use, check out my Information Page about them.
I also did a newer video showing the job a bit more up-close to help show exactly what's involved with swapping out brake pads:
Needed
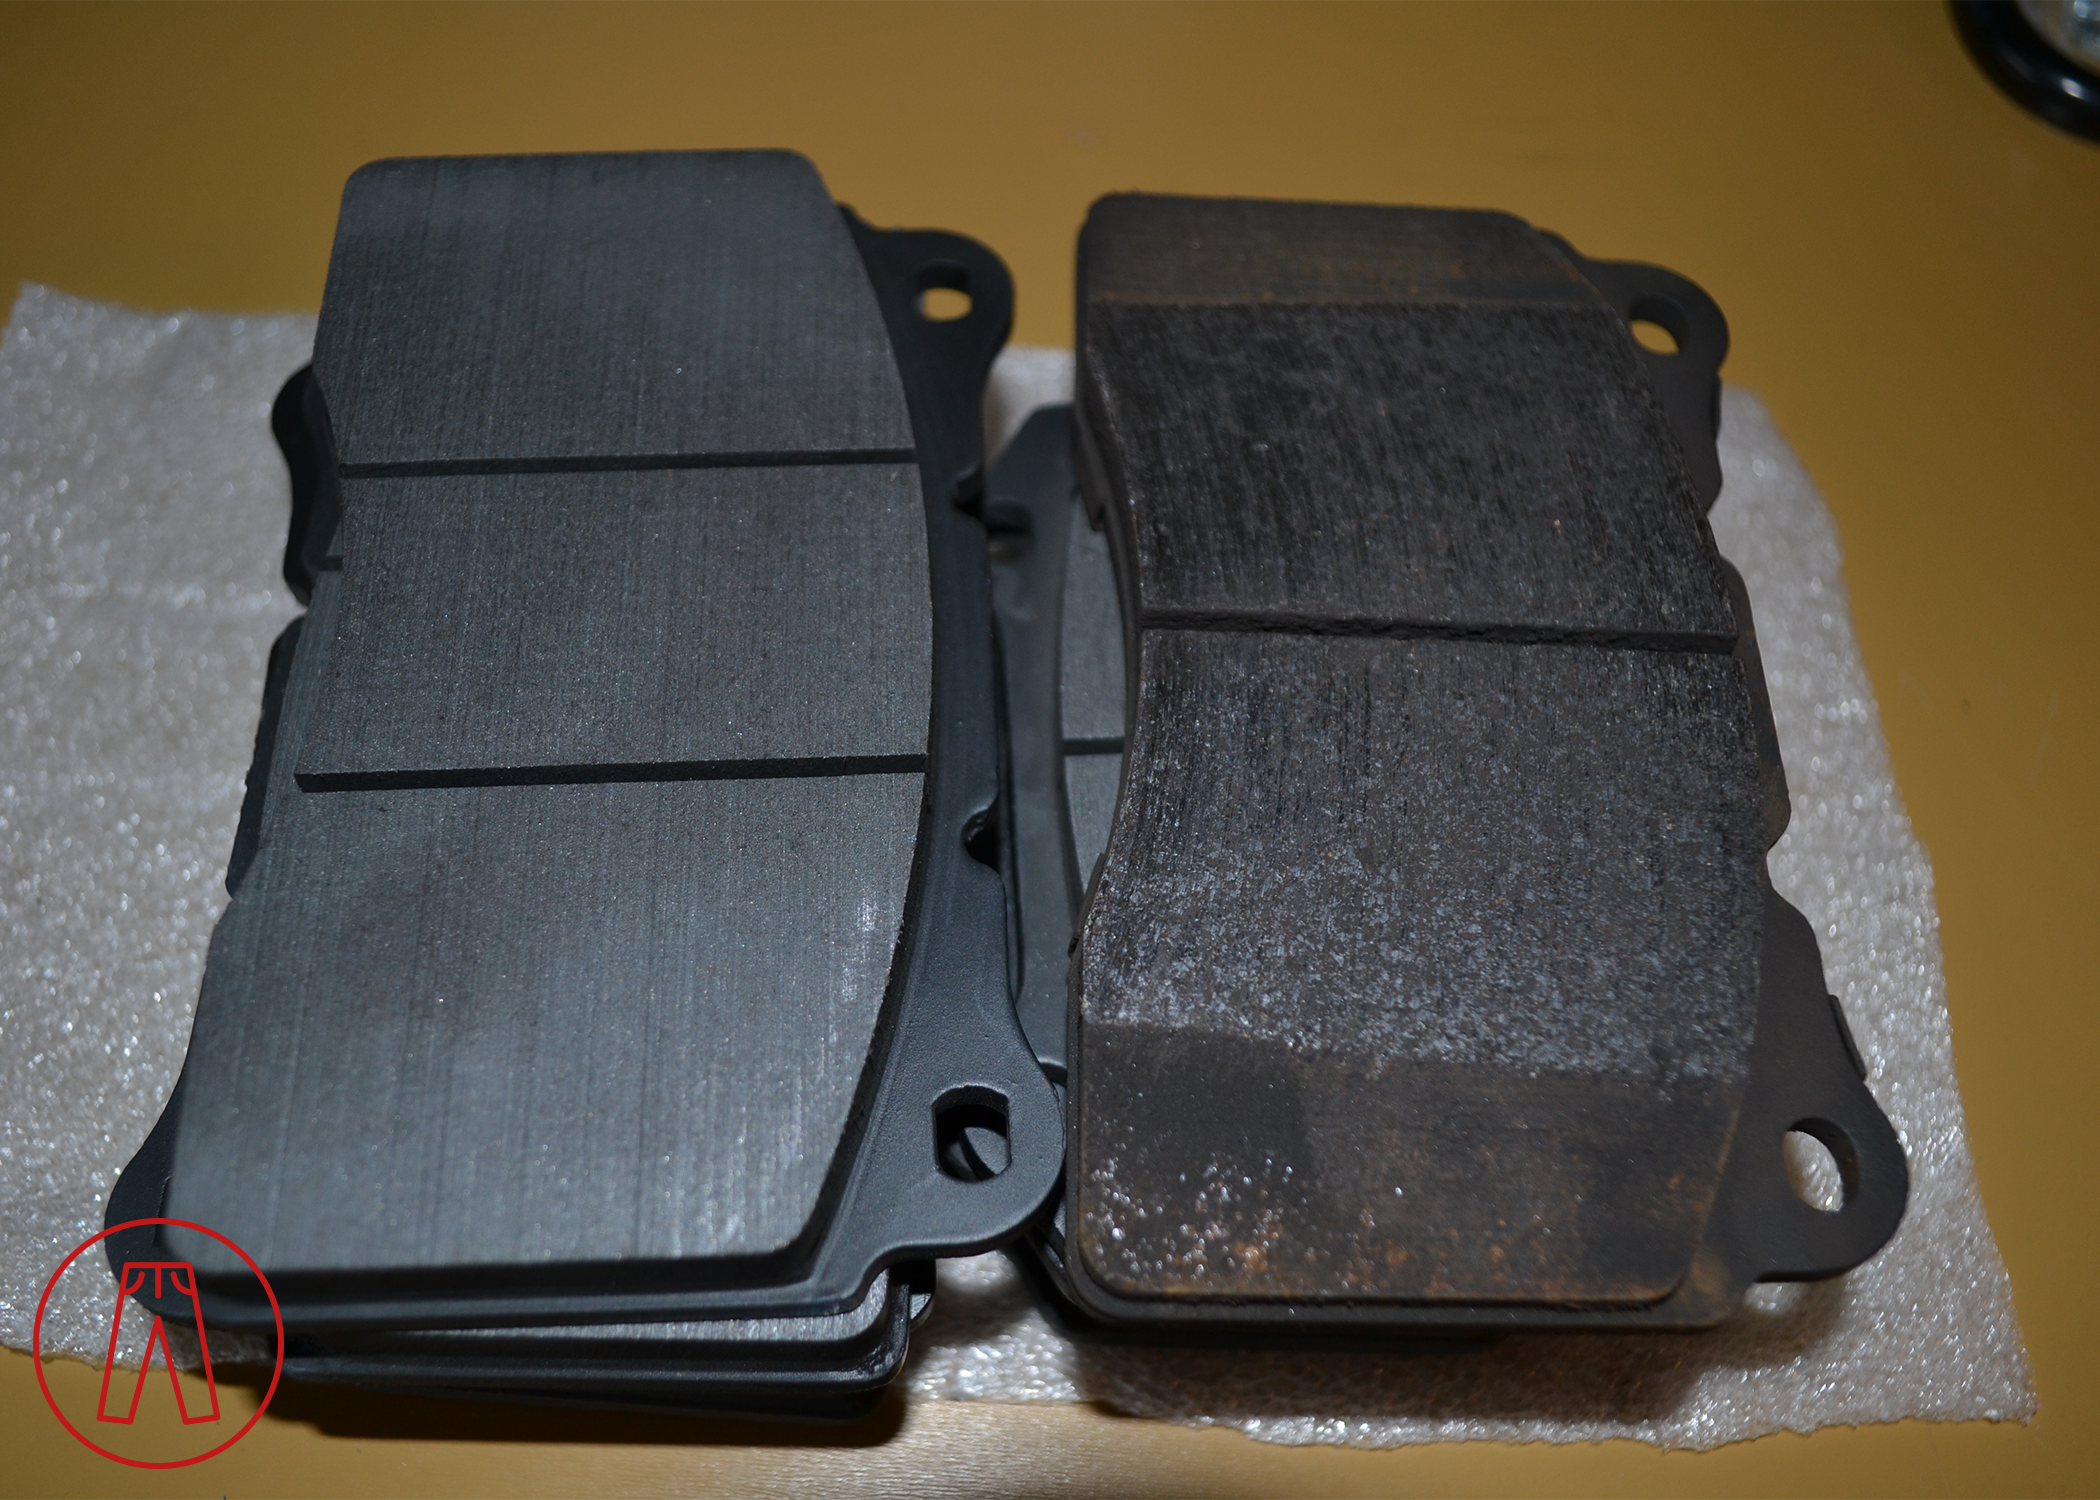
New brake pads
Pin punch
Hammer
Brake caliper piston compressor (optional)
Brakleen or other brake cleaner
Scrub brush (an old toothbrush might work)
Anti-squeal
About an hour
Before you begin
Choosing the right anti-squeal grease is a key part of replacing brake pads. I talk about a few types that I’ve used - or dealt with - in my Brake System Information Page and it’s worth reading before ordering the parts and supplies to do this job.
Brake pad squeal comes from a few different sources. Failure to fully follow installation instructions may result in brake squeal. It’s also possible that brake squeal is caused by another factor, like brake rotors that need to be resurfaced or replaced.
DO NOT get anti-squeal on the brake pad friction material or on the brake rotors.
DO NOT leave the brake fluid reservoir cap open when pushing brake caliper pistons into the calipers.
If you aren't familiar with the terminology for a braking system, reference this picture during the DIY:

Step 1
Brake the lug nuts loose on each of the wheels that will come off to change the brake pads. You don’t need to remove them entirely, just one spin will do.
Raise the car using a lift or a jack and jack stands, then take off the wheels.
Step 2
Use the punch pin and hammer to remove the retention pins.
Hold the spring clip in place when you remove the first one - the spring clip is highly sprung so it will shoot out when the first retention pin is removed unless you're holding it down. Set aside the spring clip and first retention pin, then remove the second retention pin.
Step 3
You can now remove the brake pads. The way that works best for me use my fingers to press the pad into the caliper, away from the rotor. This will push the caliper pistons in and allow you to remove the pad. Press the pad in as far as you can - a new pad is thicker than a used one, so you'll need more space between the caliper pistons and the rotor to install the new pads.
Repeat for the other brake pad.
Note: If you have trouble pushing in the pad, you can open the brake fluid reservoir cap. This will allow pressure to escape the system, making it easier for the caliper pistons to be pushed into the caliper.
Warning: If you open the brake fluid reservoir, make sure the opening is covered to prevent brake fluid from splashing out of it. Brake fluid will destroy paint so clean up any spilled brake fluid immediately. Do not allow the brake fluid reservoir to drop below the “Min” (minimum) line or you risk air getting into the brake lines. If air gets into the brake lines, the entire system will need to be flushed to get any and all air out of it.
Step 4
Thoroughly clean the brake caliper, brake caliper pistons, retention pins, and spring clip with Brakleen (or similar) and a scrub brush. Failure to do so may result in brake squeal.
Step 5
Apply anti-squeal to the brake pad backing plate, retention pins, and contact area of the spring clip. Place the brake pads into the brake caliper and make sure they’re seated properly. Reinstall the retention pins and spring clip by first fully installing one retention pin, then putting the spring clip in place and holding down the un-pinned end while inserting the second retention pin.
Step 6
Repeat Steps 2 through 5 to replace the brake pads in the other caliper(s).
Step 7
Close the brake fluid reservoir cap if you opened it, put your wheels back on and torque the lug nuts to spec (consult your owners manual).
Pump the brake pedal a few times to situate the pads and get the brake lines pressurized, then check the brake fluid level in the brake fluid reservoir and adjust the level so it’s between the Min and Max lines.
Step 8
Bed in your brakes according to the process described by the brake pad manufacturer.
And that’s it!