
Brake Fluid Flush DIY Guide
DISCLAIMER
As always, follow all safety protocols. Don't undertake this task if you aren't comfortable with it, fully understand it, and are capable of completing it. The information provided may be incomplete or inaccurate. You are ultimately responsible for anything you do. Neither Redpants, LLC or myself is responsible or liable for anything that may occur.
Brake fluid is one of the essential fluids in your car that needs to be changed at regular intervals. The service-recommended interval is every two years, but it should be done annually if you drive your car aggressively and especially if you do any track days. Brake fluid is prone to contamination from both age and hard use. If pushed too far, it can actually lose its ability to maintain pressure in your braking system.
What that means in plain English: If your brake fluid goes bad, your brakes won't work.
This DIY Guide also shows how to flush the clutch line on cars with a manual transmission. This often-overlooked item can have a major impact over time on clutch pedal function and feel if neglected long enough. I’ve flushed the clutch lines on cars that had been left untouched for so long that the owners each said it felt like they had a brand new clutch.
Warning
DO NOT drain the clutch line of a Sportshift transmission. An AMDS is required to properly flush the clutch line in the Sportshift and attempting to do the job without one may result in the transmission becoming inoperable.
Needed
Brake fluid
Pressure bleeding system (or a second person)
11mm brake line wrench or box-end wrench
9mm box-end wrench (for manual transmission cars)
14mm box-end wrench (for manual transmission cars)
Drain pan or container
Shop towels or paper towels
Brakleen or other brake cleaner
About an hour
Before you begin
DO NOT allow the brake fluid in the brake fluid reservoir to drop below the “Min” (Minimum) level. If air gets into the brake lines, the entire system will need to be flushed (again!) to get any and all air out of it.
DO NOT allow spilled brake fluid to sit for long. It is corrosive and can eat paint, so it should be cleaned up immediately if spilled.
The order brake lines should be flushed is based on the distance of the brake caliper from the brake fluid reservoir. Start at the caliper furthest from the brake fluid reservoir and work your way closer. So the order should be:
1) Passenger rear brake caliper
2) Driver rear brake caliper
3) Passenger front brake caliper
4) Driver front brake caliper
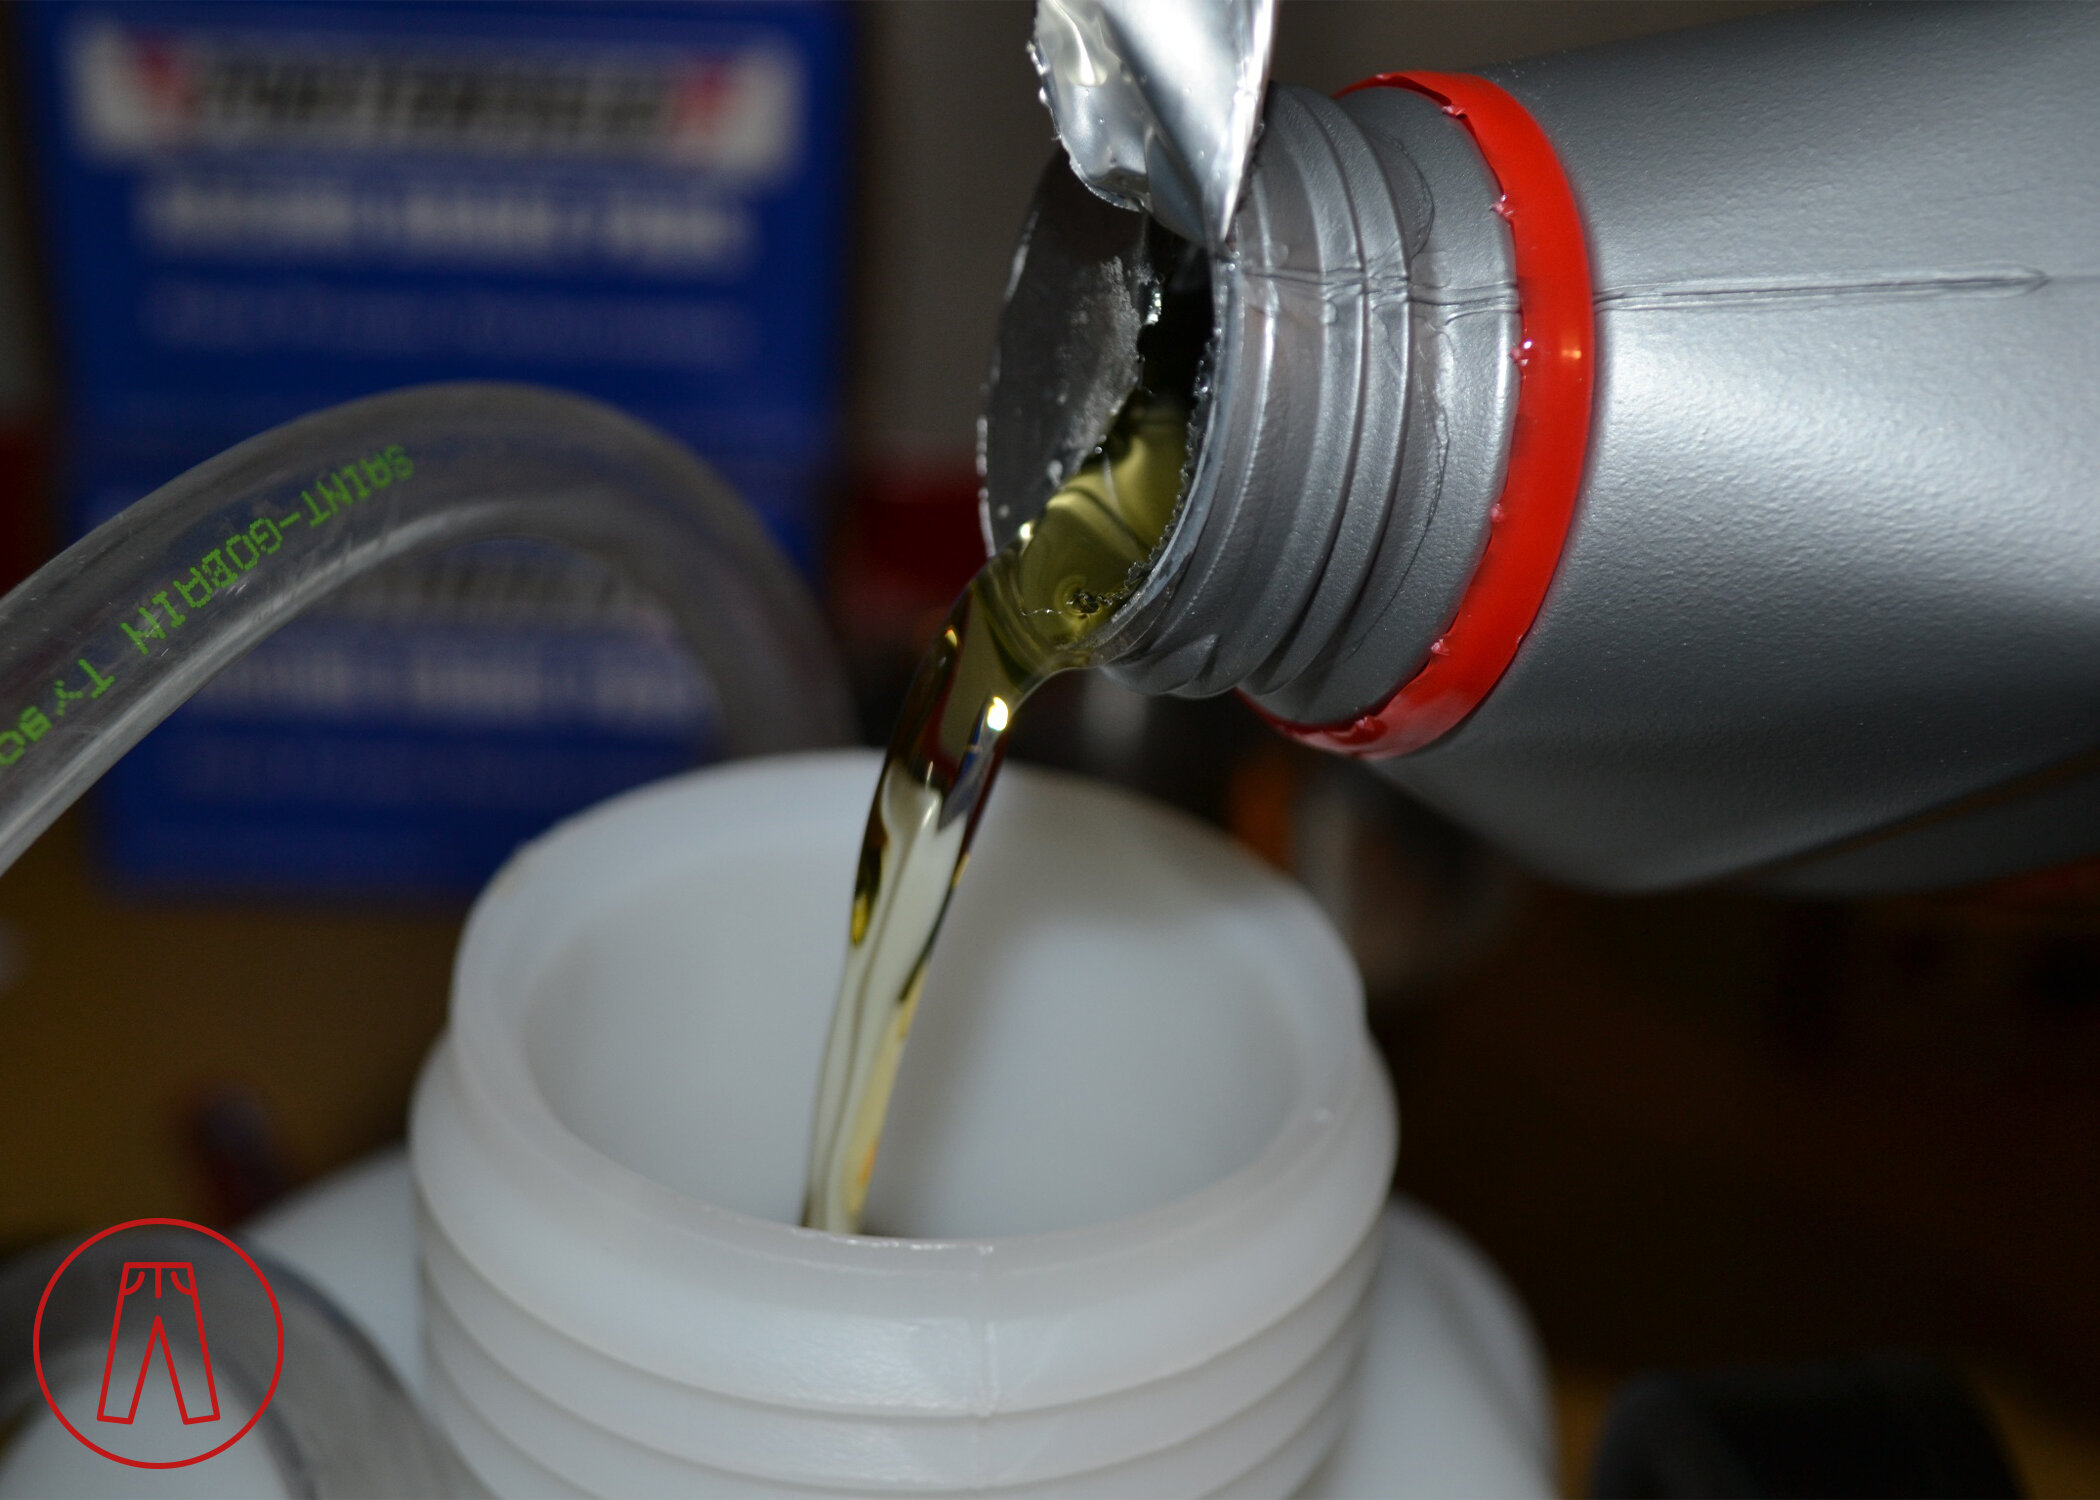
The amount of brake fluid needed for this job depends on how thorough you want to be. I usually use two 500ml bottles but usually recommend getting a third bottle to ensure you don’t run out of brake fluid before the job is over.
If you’re using a pressure bleeder, like I do in this DIY Guide, pump it to 15 psi. You’ll need to remove the pressure bleeder from the brake fluid reservoir at least a few times during the job to add more brake fluid, and you’ll want to keep an eye on the pressure to keep it at 15 psi the whole time.
If you’re not using a pressure bleeder, you’ll need a second person - one person to pump the brakes, the other person to open and close the brake caliper bleed nipples.
Step 1
Brake the lug nuts loose on each of the wheels. You don’t need to remove them entirely, just one spin will do.
Raise the car using a lift or a jack and jack stands, then take off the wheels.
Step 2
Remove the cap from the brake fluid reservoir, circled in the picture below.

Attach the pressure bleeder to the reservoir. Pressurize the bleeder and check for air leaks.
Step 3
Each caliper has two bleed nipples. Do the outer one first, then the inner one. The picture below shows the brake caliper bleed nipples circled in red, with brake fluid drain hose attached to the outer bleed nipple.

Attach the drain hose to the outer nipple and make sure the open end of the drain hose is ready to drain into a container.
Use the 11mm brake line wrench to loosen the bleed nipple. A box-end wrench will work if you don’t have a brake line wrench, but be very careful that the wrench doesn’t slip off the bleed nipple.
DO NOT remove the nipple! You only need to loosen it so fluid can come out.
You'll see brake fluid coming out of the nipple and into the hose. Eventually you should see the fluid color change as the fresh fluid gets through the line and pushes out all the old fluid. The fresh fluid will be lighter than the old fluid. The further from the brake fluid reservoir you are, the longer this will take.
When fresh fluid starts to come out, tighten the bleed nipple to close it. Remove the drain tube, use the brake cleaner and towels to clean the nipple, and put the nipple cap back in place.
Repeat for the other bleed nipple on the caliper. Since the line has already been flushed, only the fluid inside that part of the brake caliper needs to be flushed, so this should be very quick.
Step 4
Refill the reservoir and repeat Step 3 for each of the other calipers.
Step 5
This step is ONLY for the manual transmission. If you have a Sportshift or automatic transmission, skip down to Step 6.
The fluid in the clutch line of the manual transmission is the same as the rest of the brake system, and even shares the same reservoir. Think of it as a 5th brake line, but instead of being attached to the brake pedal, it’s attached to the clutch pedal. Flushing the clutch line is a very commonly overlooked maintenance item, and fresh fluid can give you much better feel in your clutch pedal.
DO NOT do this with a Sportshift transmission.
The bleed valve for the clutch line is located next to the torque tube, close to the engine (see pic below). Remove the rubber cap on the bleed nipple, then use a 14mm box end wrench to hold the clutch line in place while using a 9mm box end wrench to open the bleed valve.

Flush the clutch line the same way you did for the brake lines, but using the clutch pedal instead of the brake pedal if you’re using the two-person method without a pressure bleeder.
Step 6
Make sure the brake fluid level in the brake fluid reservoir is between the Min and Max lines, then clean up any spilled brake fluid around the reservoir and close the reservoir cap.
Check to make sure you don’t have any leaks, then pump the brake pedal (and clutch pedal in a manual) a few times to make sure they feel right. If the pedal(s) feel lighter than before, you may have a leak from one of the bleed nipples, the brake fluid reservoir cap may have come off, air may have gotten into the brake or clutch lines, or there may not be enough fluid in the brake system to maintain enough pressure when pressing the pedals.
Step 7
So long as there aren’t any issues, put your wheels back on and torque the lug nuts to spec (consult your owners manual).
And that’s it!