
Armrest and Lower Console Removal DIY Guide (Vantage)
DISCLAIMER
As always, follow all safety protocols. Don't undertake this task if you aren't comfortable with it, fully understand it, and are capable of completing it. The information provided may be incomplete or inaccurate. You are ultimately responsible for anything you do. Neither Redpants, LLC or myself is responsible or liable for anything that may occur.
Removing interior panels from an Aston Martin can be terrifying. Things are often easy to scratch and break, and replacing parts in an Aston isn't generally cheap. Luckily, this is a pretty easy job. The newer interiors with the updated arm rest have a slightly different process with additional screws in the armrest. You'll see an extra step for removing those in the guide below.
Here's a quick video showing the whole process on my '07 V8 Vantage.
Needed
Philips-head screwdriver
20 Torx bit with driver or ratchet *
Trim removal tool *
5-10 minutes
* These are needed for the MY08+ cars, but aren’t used for the MY05-07 cars.
Step 1
Remove the carpeted parcel shelf behind the seats to expose the screws along the aluminum bar. Remove those screws and set the aluminum bar aside.
If you have an '08 or newer car, continue with Step 2. If you have an '06-07 car, skip to Step 3.
Step 2
If you have an updated interior ('08+), you need to remove two additional screws. Use the trim tool to remove the leather cover by carefully prying from the leading edge (closest to the front of the car). The panel looks like this when removed:

Now use the T20 Torx bit and ratchet (or driver) to remove the two screws under that panel.

Step 3
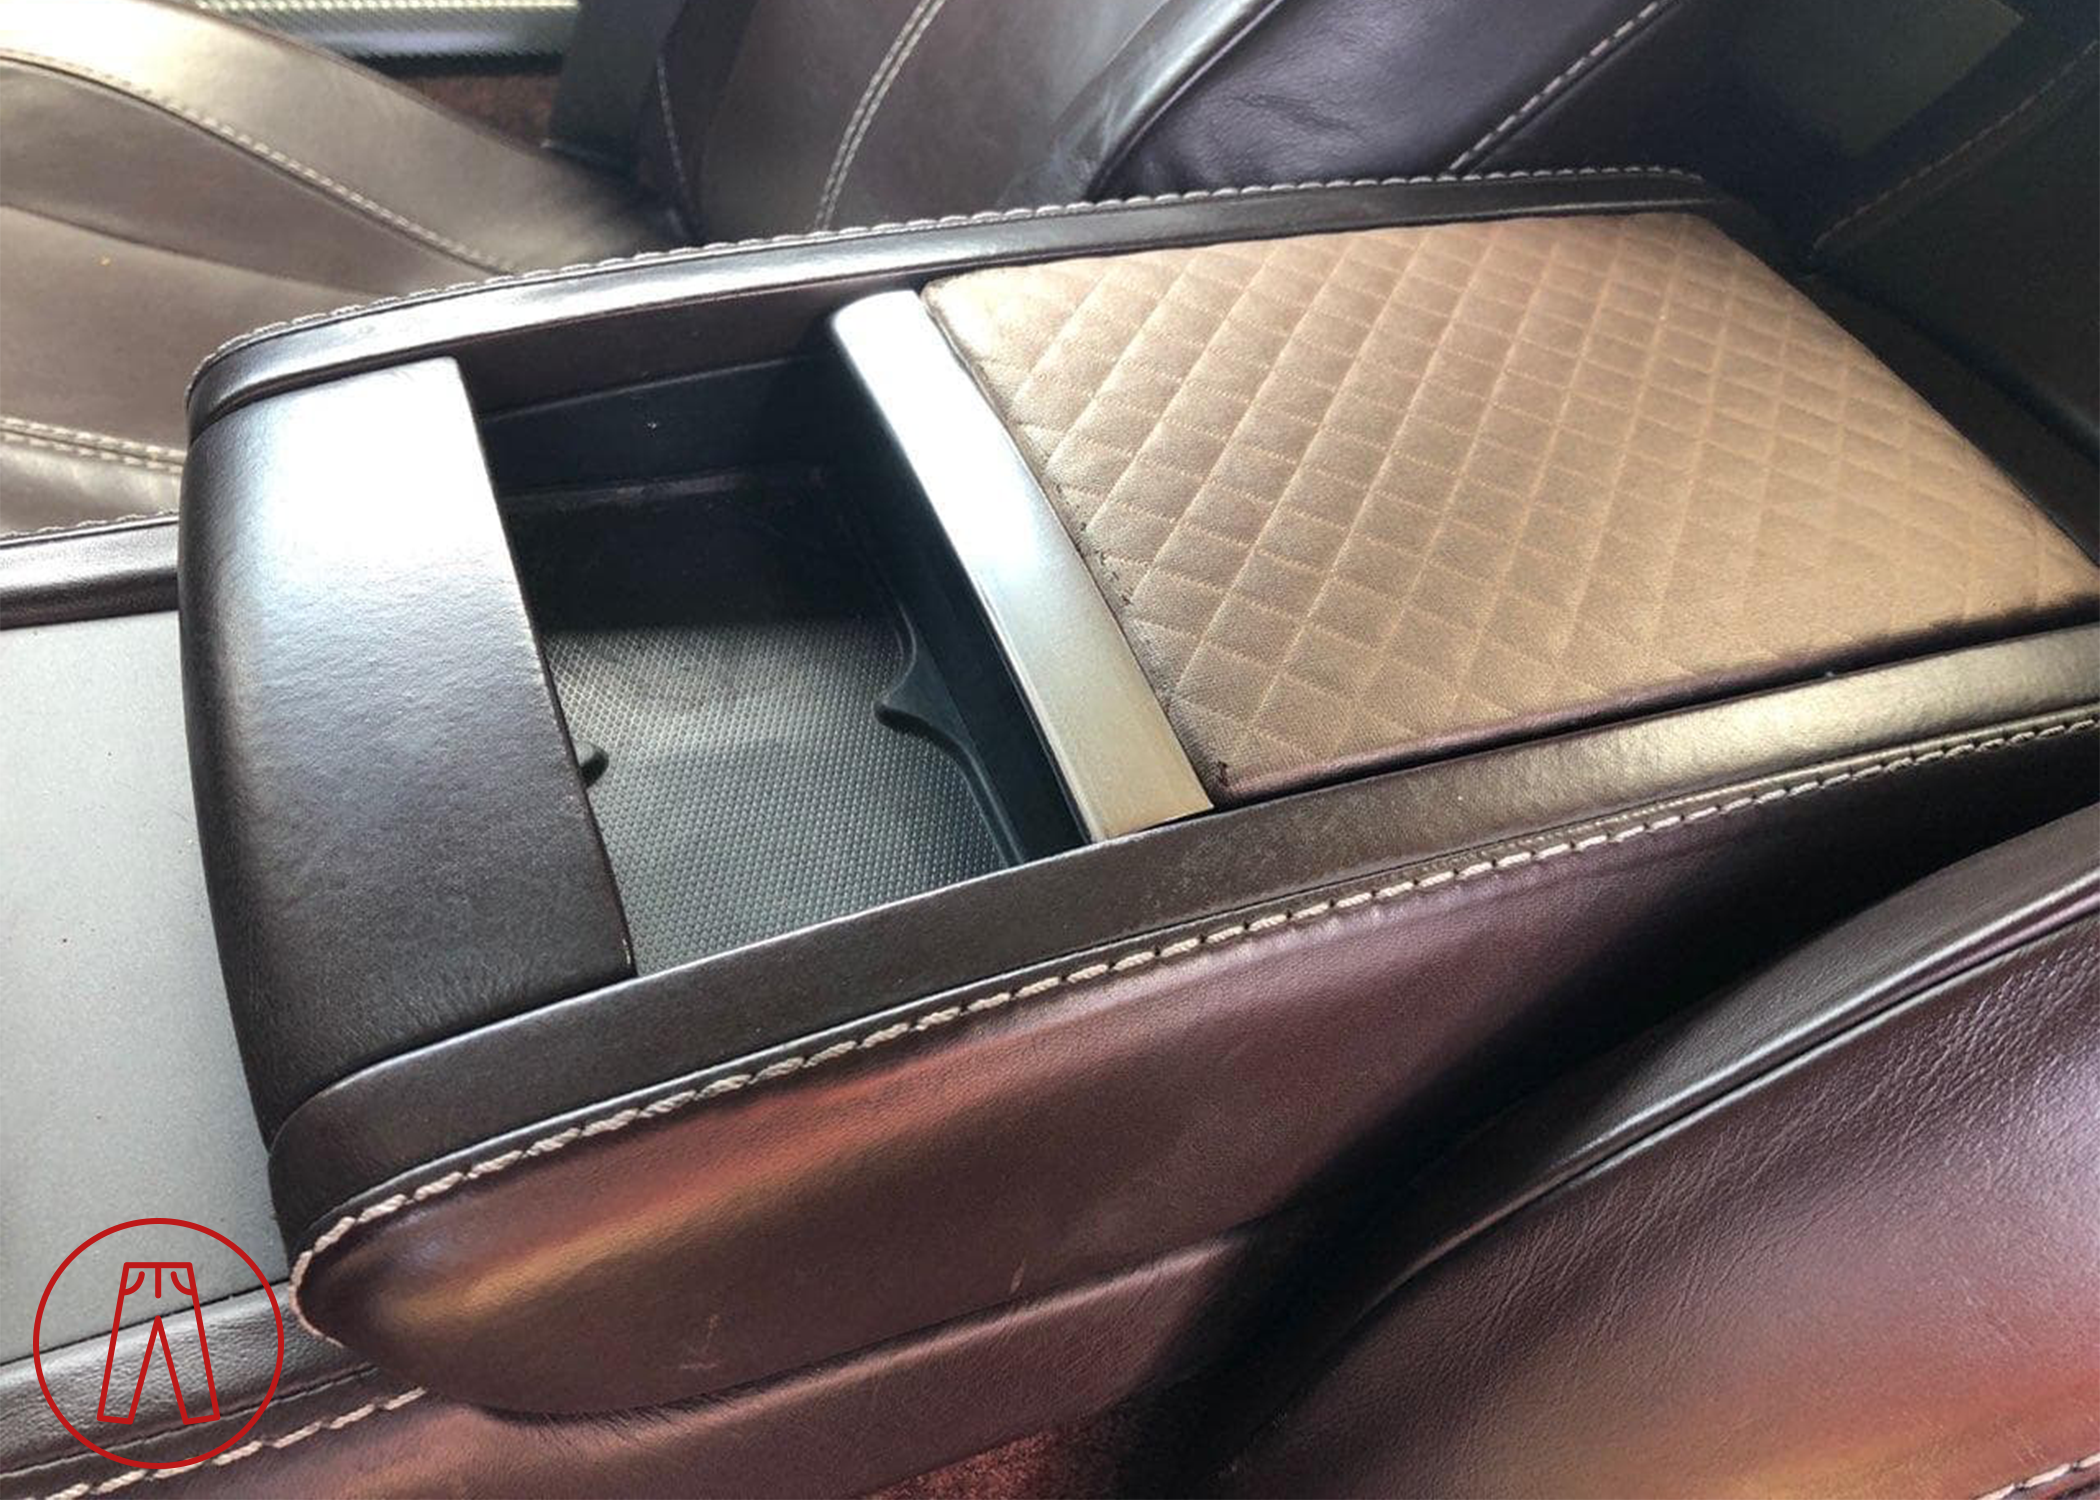
Pull back on the leather armrest to remove it. You may need to lift up on the rear edge a little while pulling back. This will expose two screws at the rear edge of the lower console panel. Use the Philips-head screwdriver to remove those two screws.
Step 4
Lift up on the rear edge of the lower console panel to expose the plugs for the buttons on the console. Unplug each of them and work toward the front of the panel. As you disconnect each plug, you can lift the rear end of the panel higher to get better access to the plugs moving forward.
Step 5
When you get to the shift knob, press down on the knob and twist it counter-clockwise (righty-tighty, lefty-loosey) to free the shift knob, then lift the knob straight up to pull it off of the shifter arm.
Step 6
Before you pull the console free, disconnect the plug for the Bluetooth indicator at the leading edge of the console panel. Once disconnected, the console panel is free to be removed.
Step 7
Follow the steps above in reverse to reinstall the lower console and armrest. Be careful when putting the lower console in place that you don’t scratch the panel in front of is with the lower console’s mounting tabs.
When installing the armrest, take note of the notched slot at its leading edge. The armrest will need to be put down rearward of that and then slid forward to properly position it.
And that's it!