

Air-Oil Separator Leak Repair DIY Guide
DISCLAIMER
As always, follow all safety protocols. Don't undertake this task if you aren't comfortable with it, fully understand it, and are capable of completing it. The information provided may be incomplete or inaccurate. You are ultimately responsible for anything you do. Neither Redpants, LLC or myself is responsible or liable for anything that may occur.
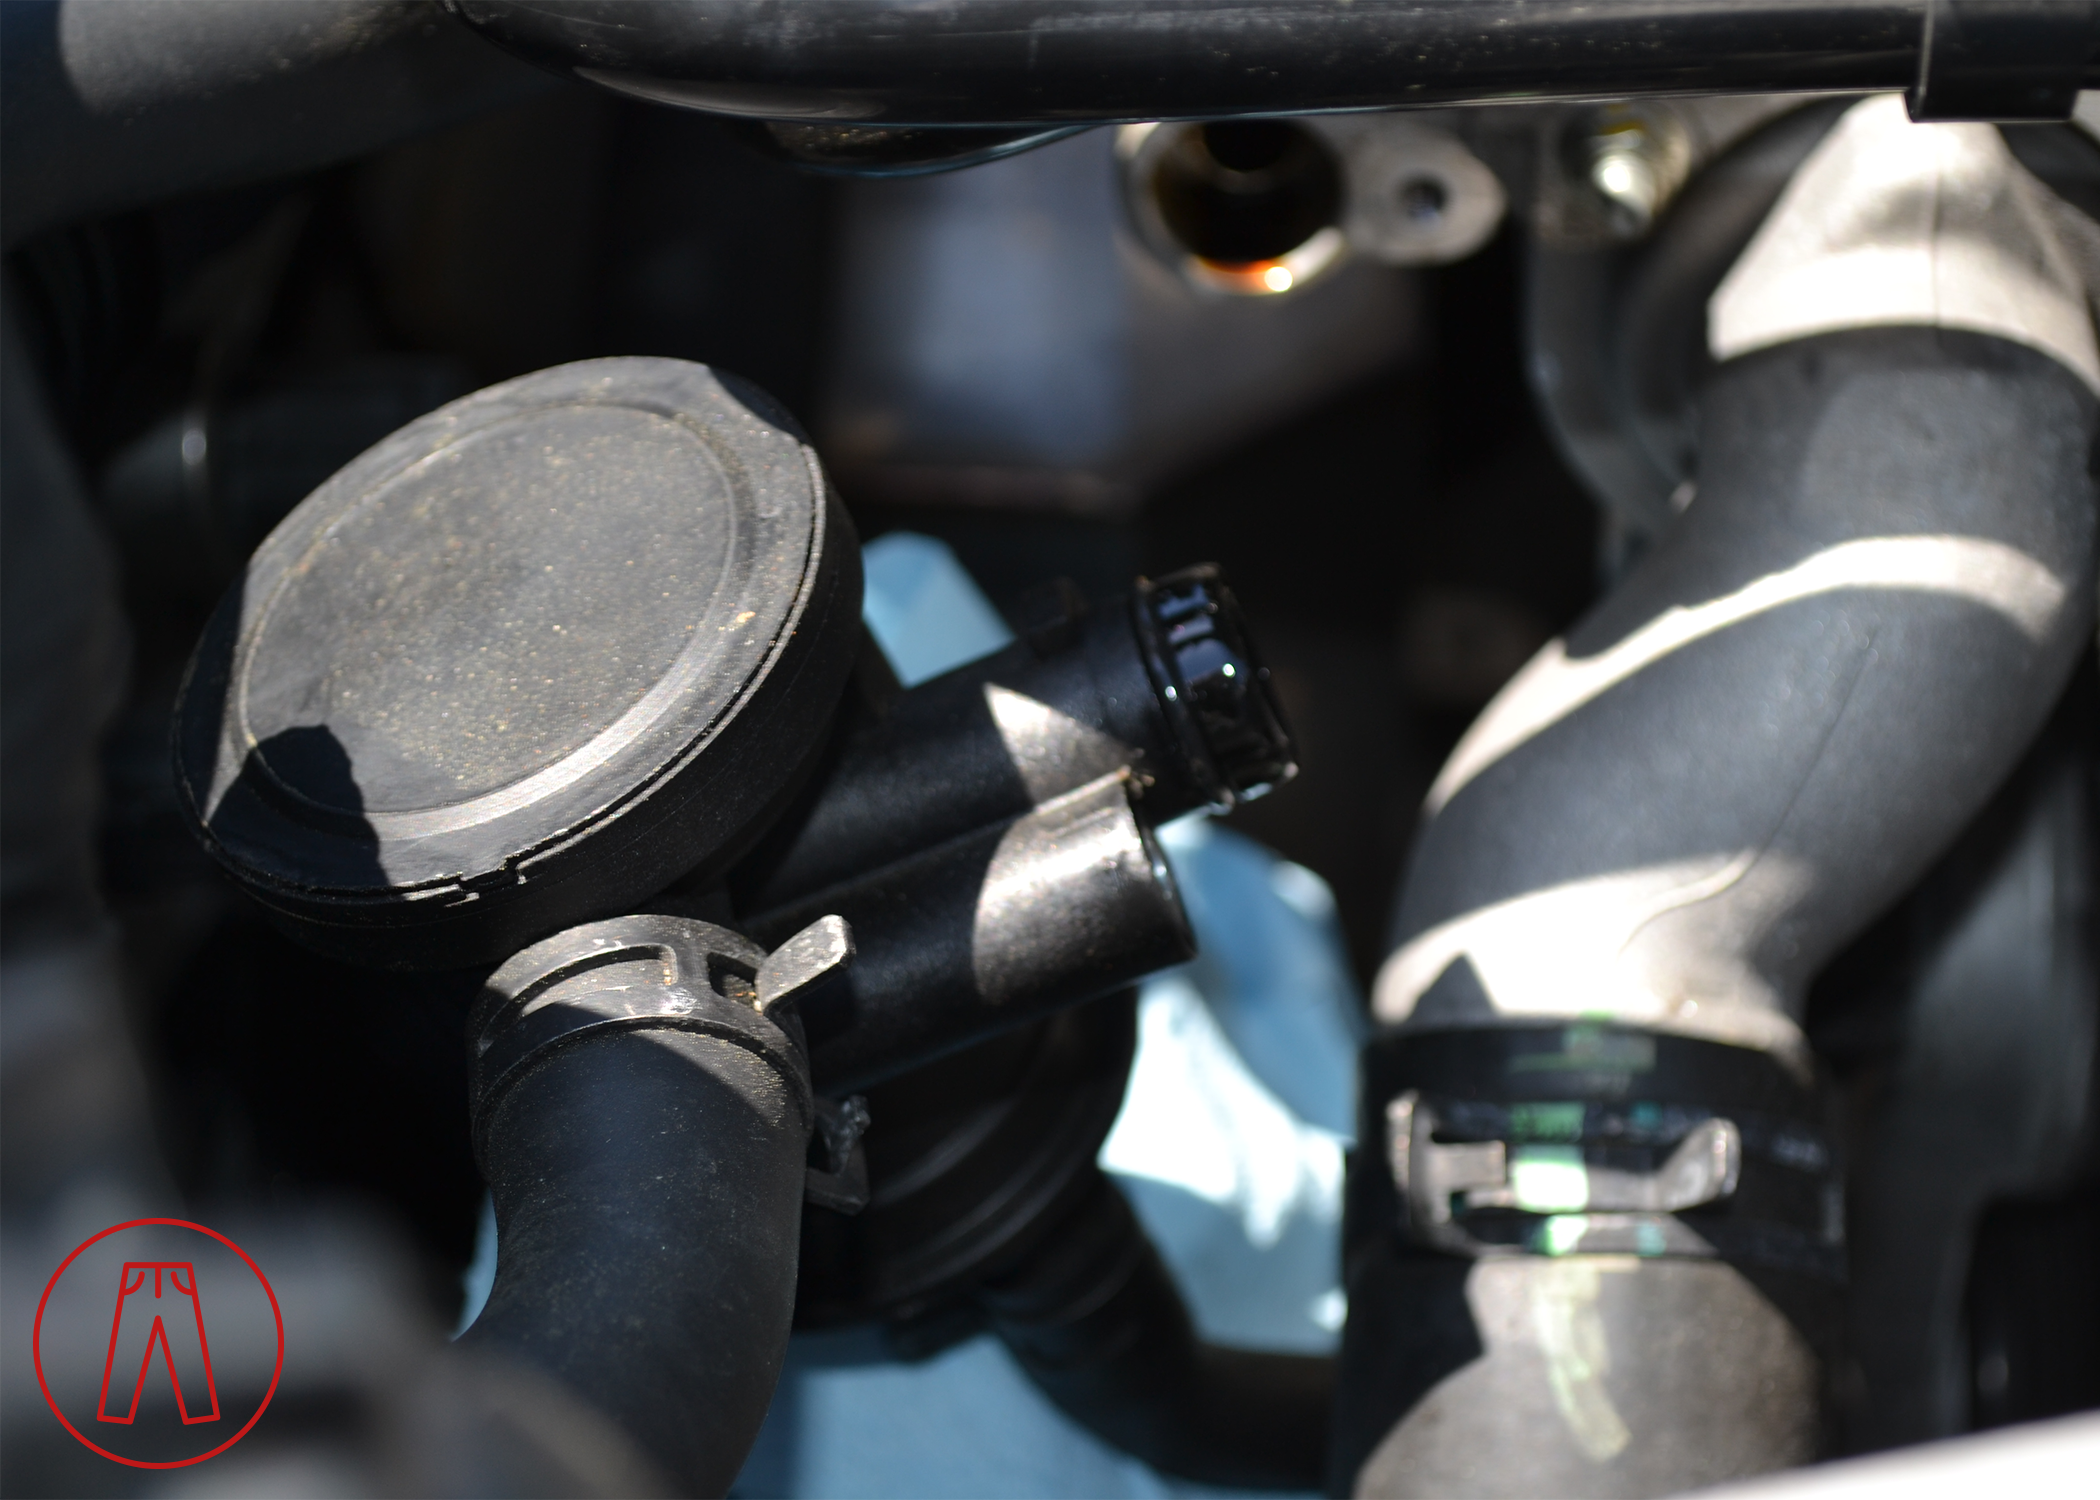
The air-oil separator (AOS) on a V8 Vantage has a seriously flawed design which results in it leaking over time. The oil leaks out slowly and runs down the AOS drain hose, so it’s easy to spot when it happens, but fixing it is another issue because there’s no real, permanent solution due to the design. The closest thing you can do is put on a new O-ring to better seal the AOS, and this DIY Guide shows how to do it.
Needed
New AOS or O-ring
8mm socket
Short extension
Ratchet for the above socket and extension
Clamp tools or pliers
Hook-end pick (if replacing the O-ring only)
Paper towels or shop rags (maybe)
10-15 minutes
Step 1
Pull up gently on the hoses that cross over the top of the AOS while working to get better access.

Remove the 8mm bolt. With the bolt out, you can pull the AOS out of the housing. Don’t pull it out - it’s still attached to the hoses.

Step 2
With the bolt removed, you can move the AOS around quite a bit - the hoses have lots of flex in them. This will allow you to move the AOS however you need to so you can remove the O-ring if you’re replacing that, or remove the clamps for the hoses if you’re replacing the AOS itself.
If you’re replacing only the O-ring:
Remove the O-ring from the AOS, then clean the remnant oil off AOS and install the new O-ring. Plug the AOS back into the housing, reinstall the bolt, and you’re done.
If you’re replacing the AOS:
Use the clamp tools or pliers to remove the clamps from each of the two hoses on the AOS. If you have trouble removing the hoses from the AOS, try twisting them to break them loose while pulling on them.
Step 3
Follow the steps above in reverse order to install the new AOS.
And that’s it!